


Linux Recovery
Accidentally deleting a file or folder on a Linux machine is more common than most users realize, and when it happens, the instinct is to look for a way to get that data back without extra hassle. EdbMails data recovery software addresses this with its Linux Recovery via SSH feature, which allows you to recover deleted files in Linux, recover a deleted folder in Linux, and handle broader Linux data recovery scenarios — all directly from your Windows computer.
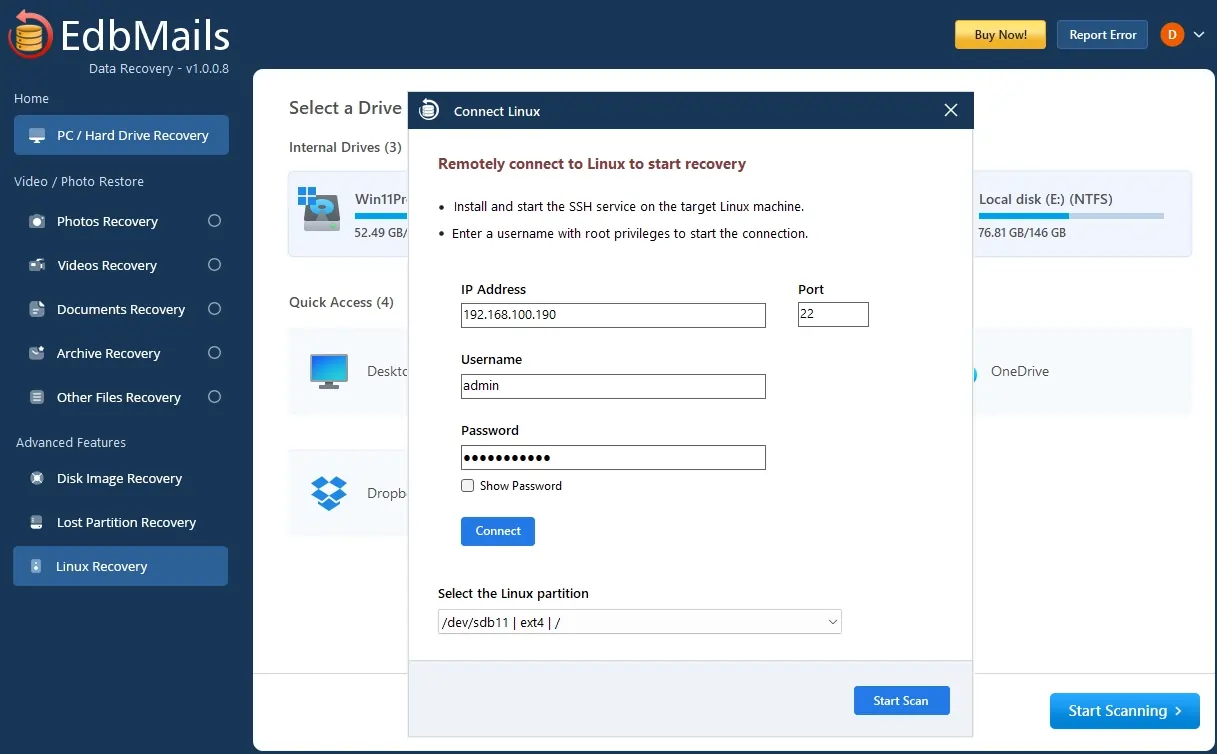
To get started, simply install and start the SSH service on the target Linux machine, then connect to it from EdbMails using the IP address, port, and a username with root privileges. Once connected, you can select the relevant Linux partition and scan it to locate deleted or lost files and folders, then recover them without needing physical access to the Linux system. This approach works whether the data loss happened due to accidental deletion or a system update gone wrong.
Key Benefits of Linux Recovery via SSH
Who Should Use This Feature?
Prerequisites for Linux Recovery
Steps to Recover Deleted Files in Linux with EdbMails Data Recovery Software
EdbMails makes it simple to recover your deleted or lost files from Ubuntu Linux systems. The entire process is straightforward and can be completed in just a few steps.
Step 1: Setting Up SSH on Your Ubuntu Machine
SSH allows EdbMails on your Windows machine to securely connect to your Ubuntu machine over the network. Before you can start recovering data, you'll need to install and enable SSH (Secure Shell) on the Ubuntu machine. This is a quick, one-time setup — just follow the commands below in order.
Open Terminal on the Ubuntu machine and run the following commands
Command 1: Update System Packages
Command: Copy & Pastesudo apt update
Running this command refreshes Ubuntu's package manager database, pulling in the latest information about available software versions so that you end up installing the most recent version of SSH.
Command 2: Install OpenSSH Server
Command: Copy & Pastesudo apt install openssh-server -y
This command downloads and installs the OpenSSH server, with the -y flag auto-confirming any prompts so it runs without interruption, and sets up the required configuration files and user accounts. Expect output like Setting up openssh-server..., and let it run fully without interrupting
Command 3: Start the SSH Service
Command: Copy & Pastesudo systemctl start ssh
This command starts the SSH service immediately and enables remote connections right away.
Command 4: Enable SSH to Start Automatically on Boot
Command: Copy & Pastesudo systemctl enable ssh
This command configures SSH to start automatically whenever Ubuntu boots, so it's always running without any manual intervention
Command 5: Verify SSH is Running
Command: Copy & Pastesudo systemctl status ssh
This command checks whether SSH is currently running and shows its status, confirming that everything was installed and configured correctly.
Step 2: Configuring EdbMails for Linux SSH Connection
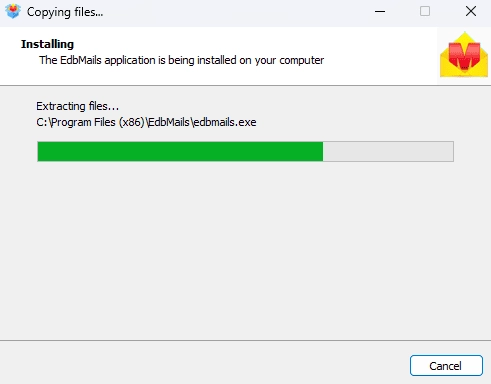
- Download and install EdbMails Data Recovery Software on your computer.
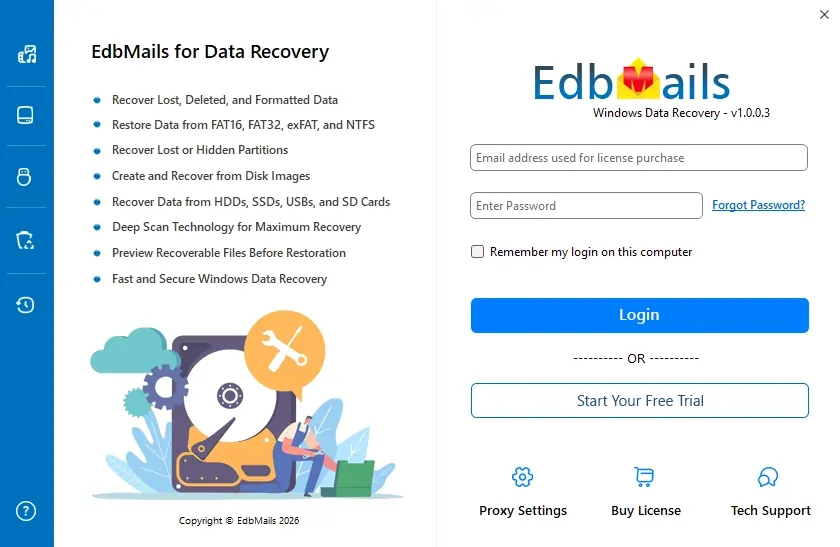
- Login using your registered email address and password. If you don't yet have an account, click ‘Start Your Free Trial’ to explore EdbMails features.
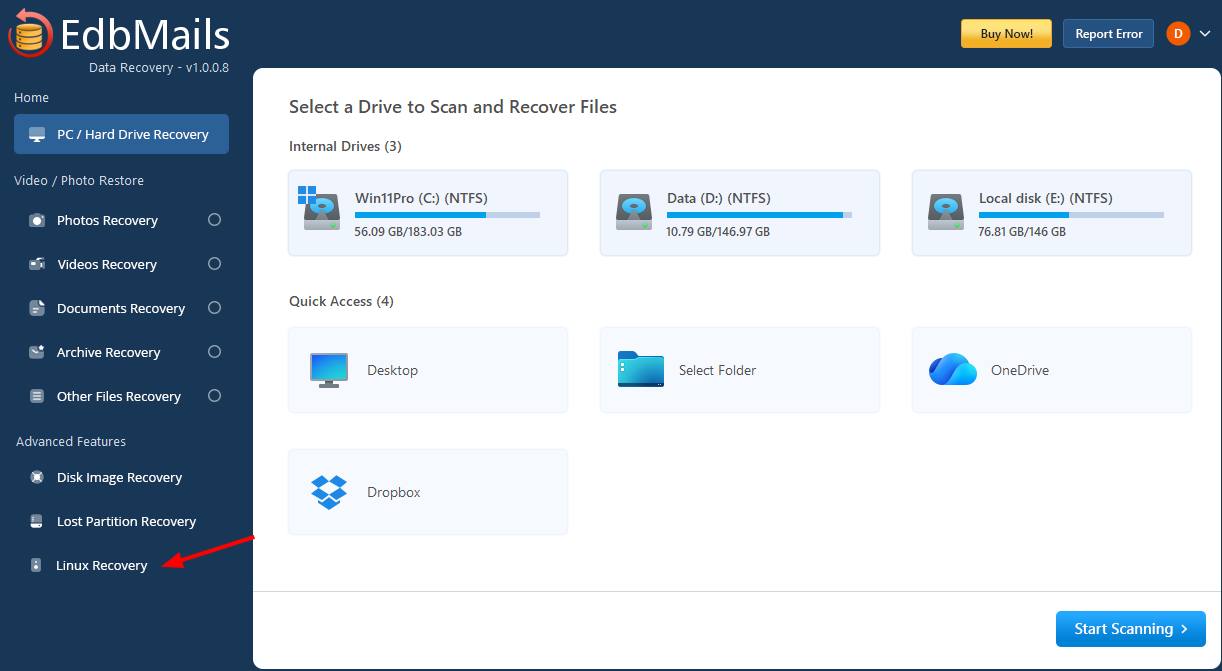
- In the left-side toolbar, under Advanced Features, click ‘Linux Recovery’.
- Enter the required details, including IP address, username, and password, then click the ‘Connect’ button.
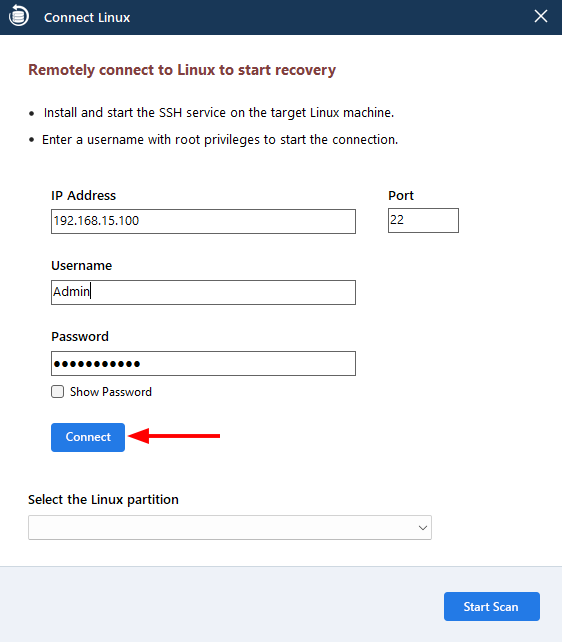
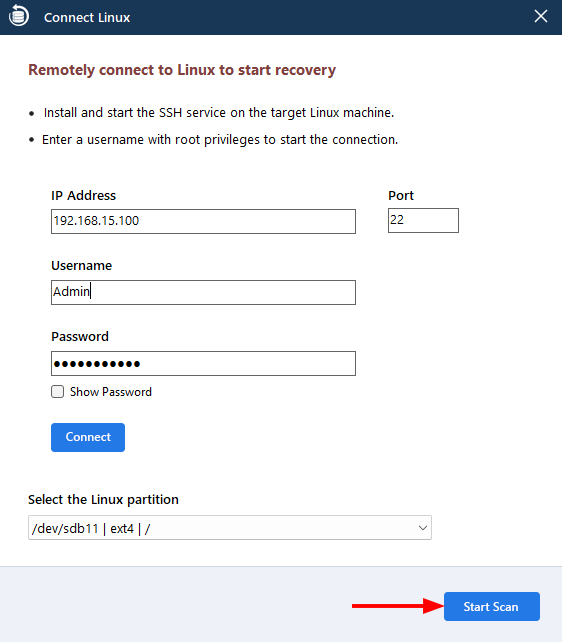
- Once the partitions load successfully, select the required partition and click ‘Start Scan’.
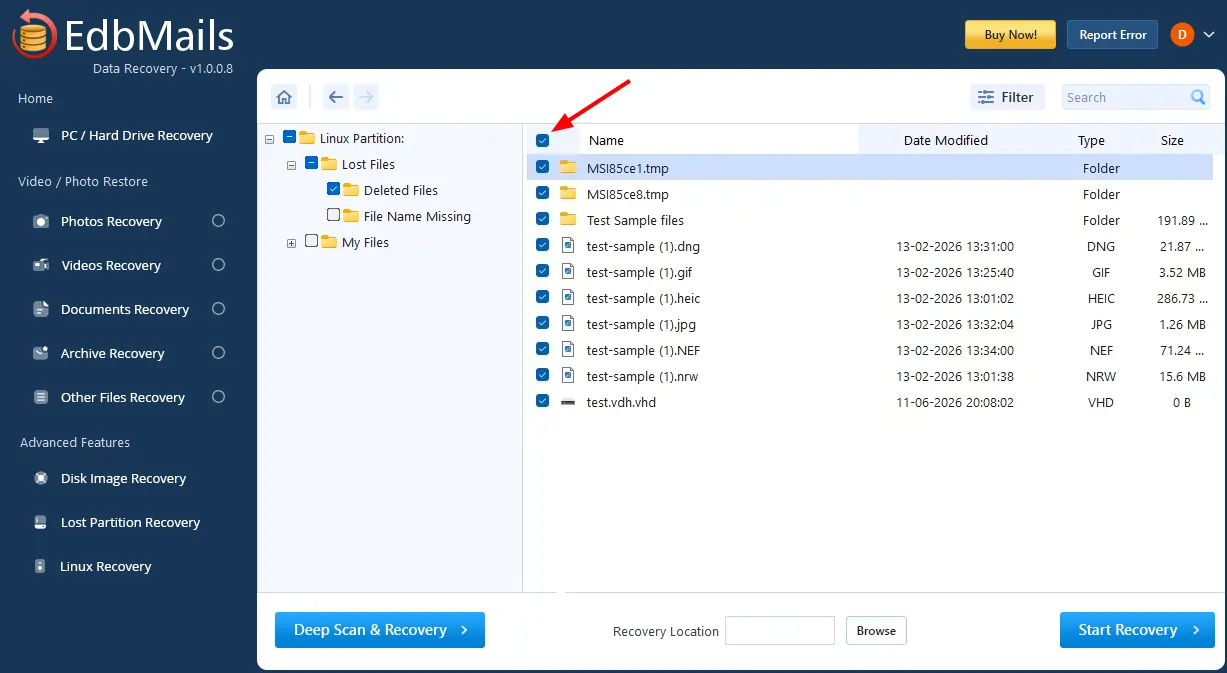
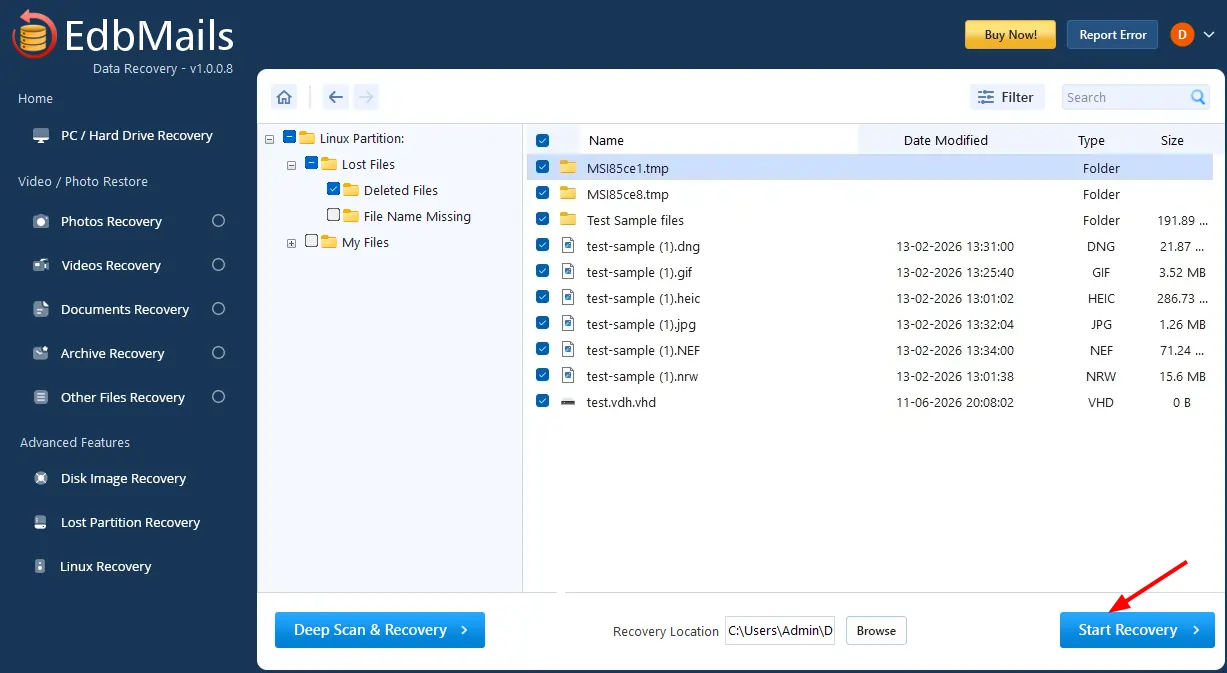
- Select the required folders or files that you want to recover.
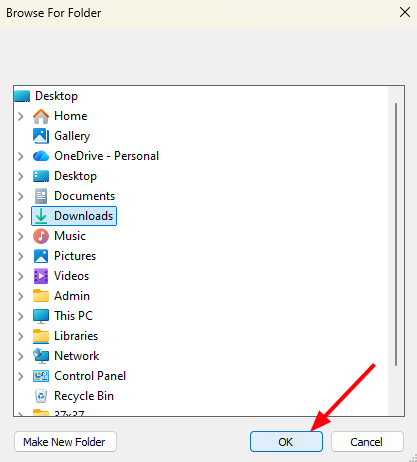
- Click the ‘Browse’ button to select the recovery location
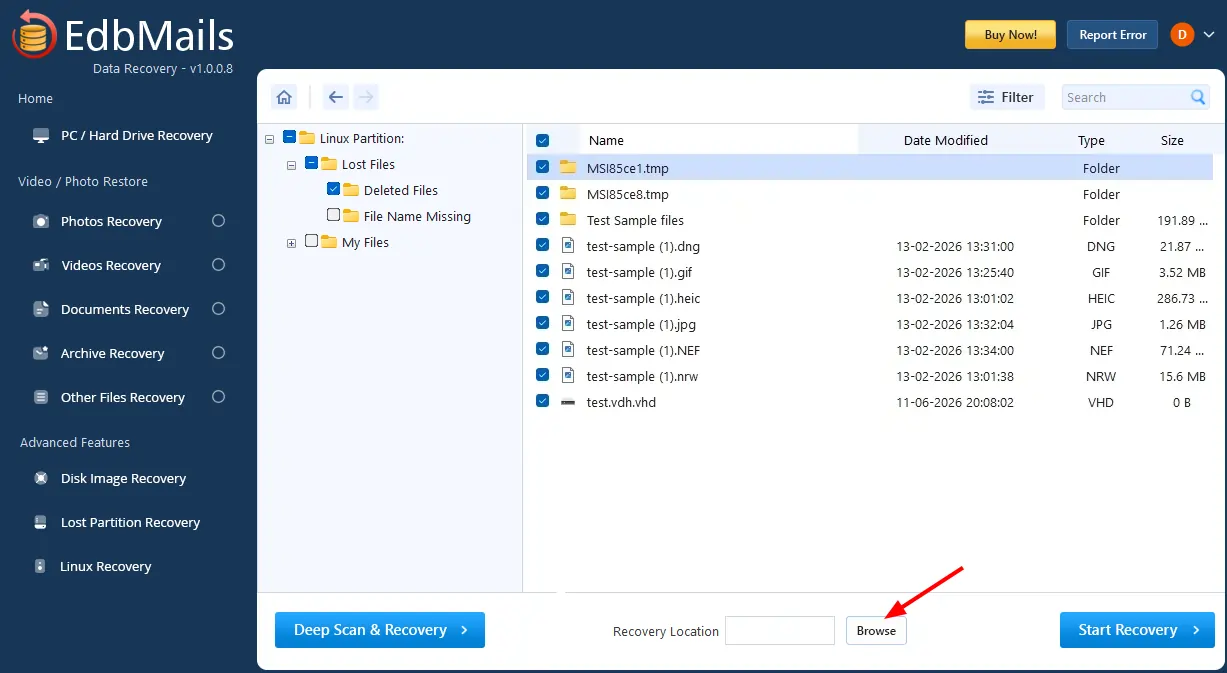
- Choose the desired location and click ‘OK’.
- Click the ‘Start Recovery’ button.
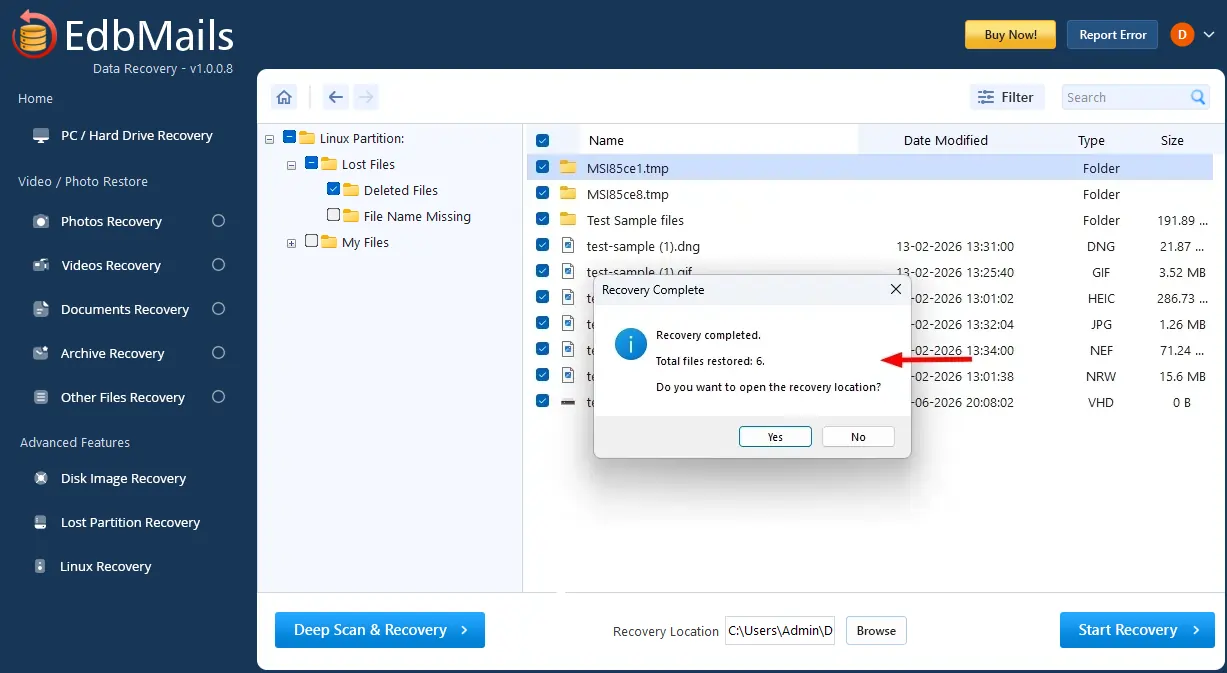
- Once recovery is complete, the total number of recovered items will be displayed.
- Download and install EdbMails Data Recovery Software on your computer.