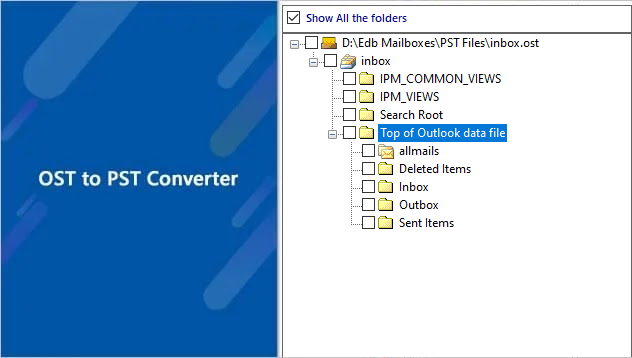


Import OST File into Live Exchange Mailbox
Importing an OST file into a Live Exchange mailbox is essential in scenarios such as recovering data from a damaged Outlook profile, restoring mailboxes after unexpected system failures, or transferring user data to a new Exchange setup. Because OST files are linked to specific Outlook profiles and cannot be opened or imported directly into an Exchange Server, a specialized migration solution is required.
The EdbMails OST to Exchange Server migration tool provides a simple and dependable solution for this requirement. It allows the direct import of emails, contacts, calendars, and attachments while preserving the original folder hierarchy and maintaining data integrity throughout the entire migration process.
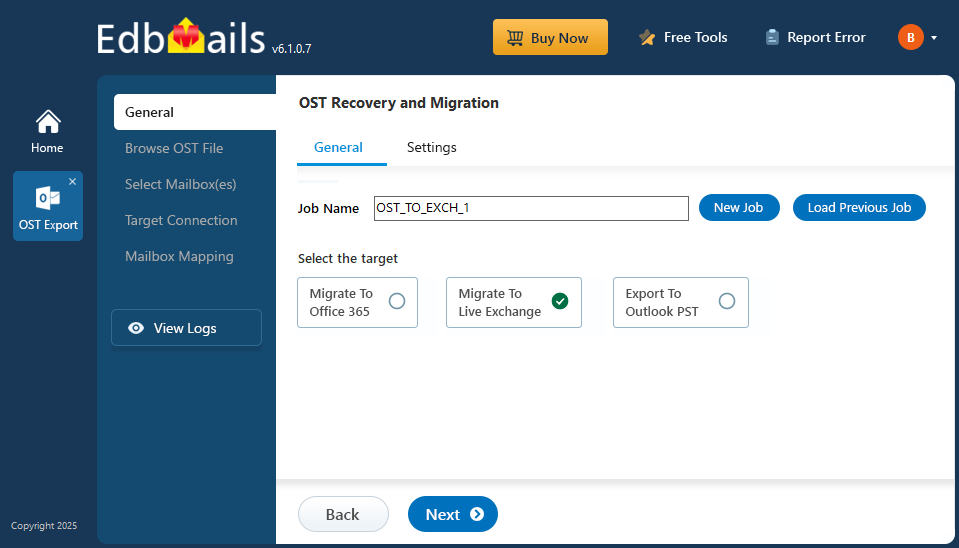
The tool’s step-by-step interface simplifies the operation allowing you to select the OST file, connect to the destination Exchange Server, and accurately map source mailboxes. Additionally, you can choose specific folders for import, giving you complete control over the data being migrated.
Why import OST to Exchange Server?
There are various scenarios where you may need to migrate your emails from OST to Exchange Server. Some of the common scenarios are:
- Switching to a New Exchange Server: Organizations may migrate their Exchange Server to a new version or to a new server for better performance, security, or scalability. In such cases, you may have to migrate your data, including emails, contacts and calendars from the local OST file to Exchange.
- Switching to a Different Computer: When you set up Outlook on a new computer and reconfigure your Exchange profile, it creates a fresh OST file. This means the OST file from your old computer becomes disconnected, and you may no longer be able to access the emails and data it contains. Migrating the old OST file to your Exchange Server allows you to recover and access that data, ensuring nothing important is lost.
- Recovery after System Crash: If your system crashes, you may lose access to your local OST files, or the OST file itself may become corrupt. Migrating these files to Exchange Server ensures that the data can be recovered without loss.
- Migrating to On-premise Exchange Server: Many organizations choose to stay with on-premises Exchange Server to maintain full control over their data and infrastructure. With Exchange migration, it’s also possible to set up a hybrid environment by moving some data to the cloud while keeping critical information stored locally. This approach not only offers flexibility but also ensures physical control over backups and sensitive data.
Steps to import OST to Exchange with EdbMails
Step 1: Download and install EdbMails software
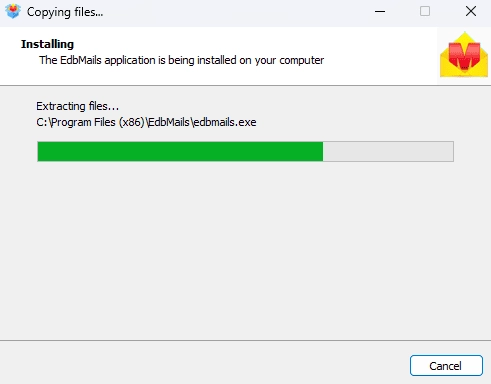
- Download and install the EdbMails application on your computer.
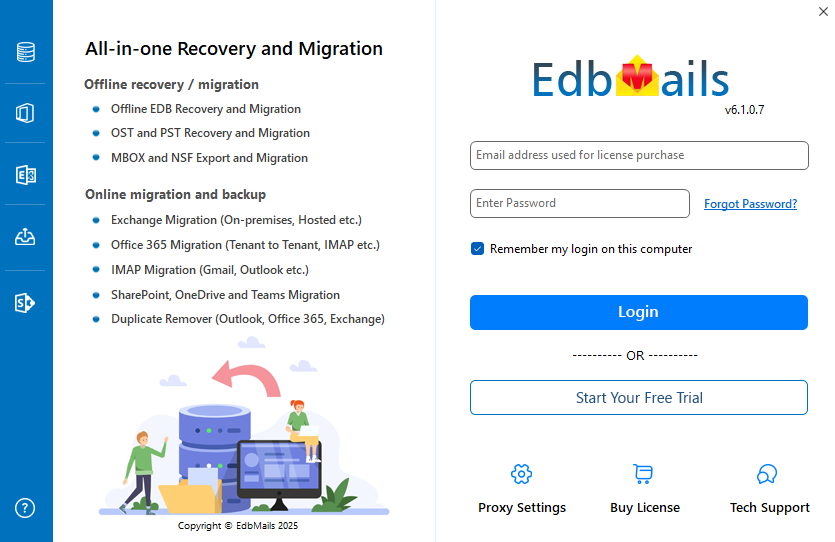
- Launch the EdbMails software on your system.
- Enter your registered email address and password, then click ‘Login’. New users can select ‘Start Your Free Trial’ to continue with the trial version.Note: The trial edition allows you to evaluate all key features and export up to 30 items from each folder. To remove these limits and enable full functionality, a valid license must be purchased from the EdbMails website.
Click here to purchase the license from the EdbMails website.
Once the purchase is complete, close and reopen the EdbMails application. Then sign in using the same email address and password to successfully activate your license.
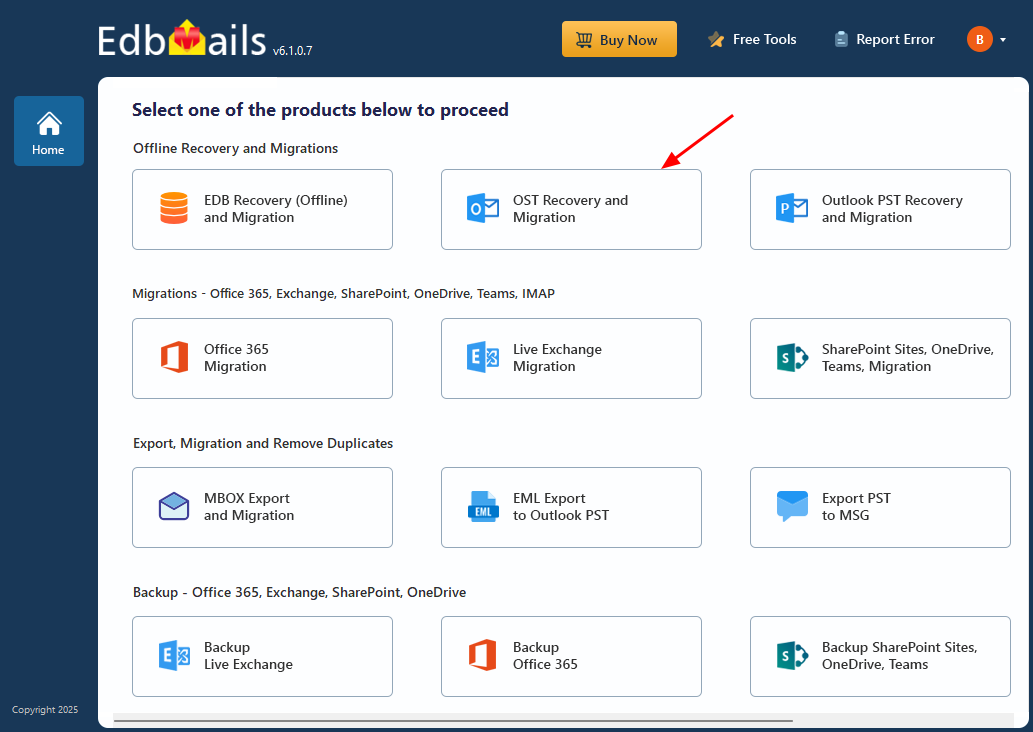
- Select ‘OST Recovery and Migration’
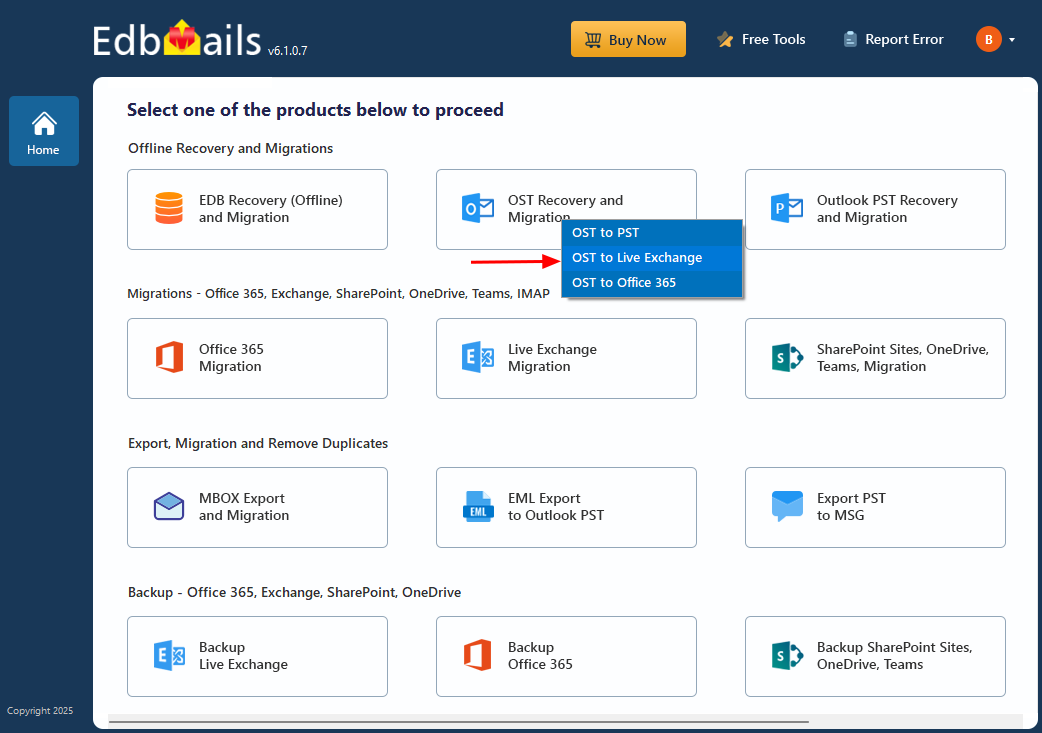
- Select ‘OST to Live Exchange’.
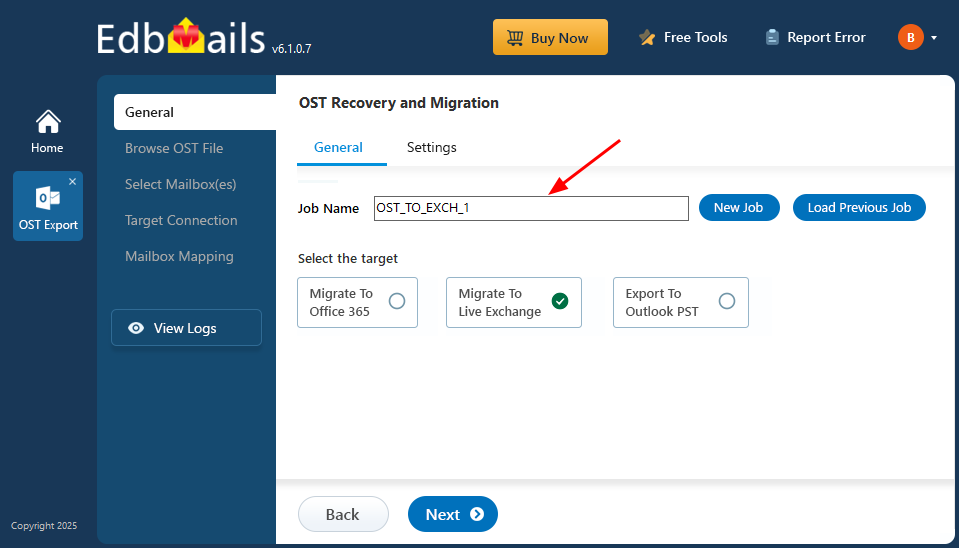
- You may continue with the default job name or select the ‘New Job’ option to assign a different name
- Then, click ‘Next’ to continue.
- Download and install the EdbMails application on your computer.
Step 2: Select the Outlook OST file that you want to import
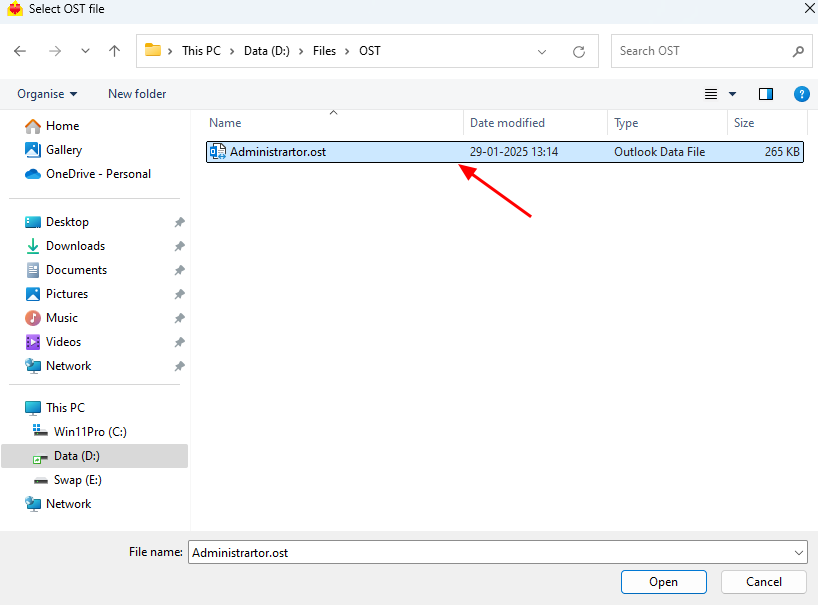
- Click ‘Browse for OST file'.
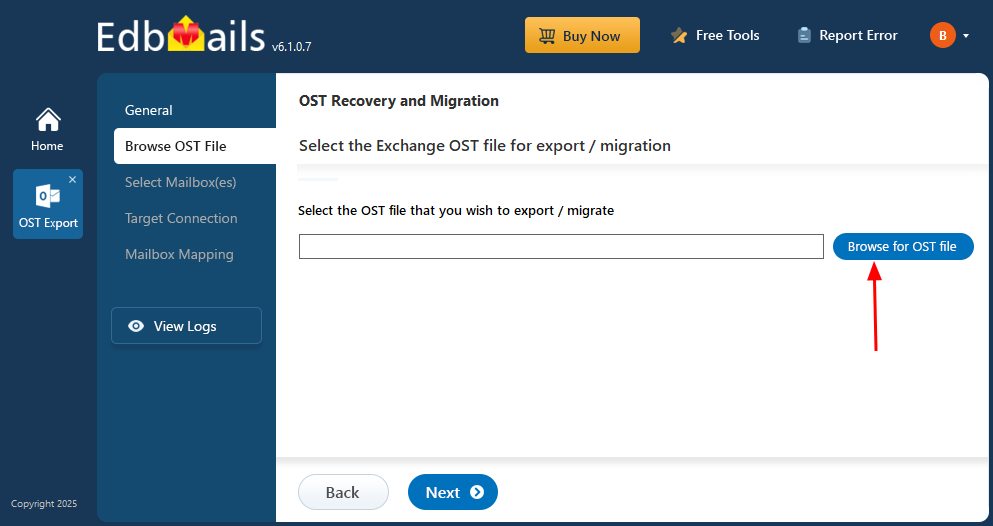
- Choose the offline OST file stored on your local drive and click ‘Next’ to proceed. Alternatively, you may select an OST file from a shared network location, provided it has the necessary read and write permissions.
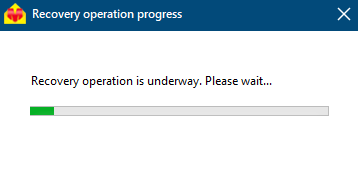
- EdbMails scans the offline OST file to retrieve mailbox data, even if the file is corrupted or partially damaged. The tool examines the internal structure and data components to restore emails and other Outlook items. The scanning duration varies based on the OST file size and the severity of corruption, so it is important to allow the process to finish for complete recovery.
- Once the recovery scan finishes, the complete OST data appears within the application, preserving the original folder and subfolder structure. Users can navigate through any folder to explore its contents. Selecting items such as Emails, Contacts, Notes, Tasks, or Calendar displays all related entries along with a detailed preview panel on the right. This lets you access OST file contents directly within the application, without requiring Outlook.
- Click ‘Browse for OST file'.
Step 3: Complete the migration
- Once your OST file is selected, preview and choose the required folders, connect to your target Exchange server, map the source and target mailboxes, and start the migration.
- EdbMails handles the entire process with real-time progress tracking and a completion summary once finished.
See the full step-by-step OST to Exchange migration guide for detailed screenshots and instructions.