


Public Folder to Office 365 Migration in a Hybrid Environment
Scenario:
During the Public folder migration in Exchange and Office 365 hybrid environments, you will receive the error 'HoldForMigration' when you try to create Public folder mailboxes on Exchange online (Office 365)
The following error occurs when the Public folder is configured as 'Remote' during the Exchange server hybrid deployment.
Error: An existing Public Folder deployment has been detected. To migrate existing Public Folder data, create new Public Folder mailbox using -HoldForMigration switch

Resolution:
To resolve the public folder error during migration in a hybrid deployment, change and configure the Public folder from Remote to Local.
Before proceeding, ensure that all Public folders are located on the on-premises Exchange server and that no Public folders exist on the target Office 365 server.
Steps to Resolve Public Folder Migration Error in Hybrid Environment
Set the on-premises Exchange Public Folders to Local
- Launch PowerShell and run the following command to test the Public folder mode in your on-premise Exchange. Command: Copy & Paste it on PowerShell
Get-OrganizationConfig |fl *public*
Result:
The PublicFoldersEnabled parameter indicates that the Public folders are in Remote mode.
Remove all the existing Public Folder mailboxes on Office 365. Command: Copy & Paste it on PowerShell
Get-Mailbox -PublicFolder |Remove-Mailbox -PublicFolder
Note: In a Hybrid scenario, the Public Folder mailboxes on Office 365 should be empty and without data (if you’re using Public folder on-premises). Ensure that all Public Folder mailboxes on the target are empty before deleting them.
Run the cmdlet twice because it is not possible to delete the primary mailbox before deleting the others when there are multiple Public Folder mailboxes.
Run the following command and change the Public folder mode to Local. Command: Copy & Paste it on PowerShell
Set-OrganizationConfig -PublicFoldersEnabled Local -RemotePublicFolderMailboxes $Null
- Rerun the command from step 1 to verify the Public folder mode.

The parameter PublicFoldersEnabled is changed to Local
Note: Changing the mode to Local disrupts connectivity with on-premises Public Folders for all Office 365 mailbox users. Before you begin, plan the activity and backup your Public folder mailboxes.
- Launch PowerShell and run the following command to test the Public folder mode in your on-premise Exchange. Command: Copy & Paste it on PowerShell
Create Public Folders on the Target Office 365 Server
- Login to the Admin center and create Public folder mailboxes
Assign root access to the Public folder to the admin account that will be used for the migration. You do not have to create all of the Public Folders in Office 365. Simply create the top-level folders, and EdbMails will create the rest and migrate the permissions during migration.
- Run the following command to assign the Public folder mailbox as default to the admin account Command: Copy & Paste it on PowerShell
Set-Mailbox -Identity
-DefaultPublicFolderMailbox - Run the below cmdlet and verify if the Admin account is assigned the Public folder mailbox Command: Copy & Paste it on PowerShell
Get-Mailbox|flPrimarySmtpAddress,DefaultPublicFolderMailbox,EffectivePublicFolderMailbox

- Login to the Admin center and create Public folder mailboxes
Steps to Migrate Exchange Public Folders to Office 365
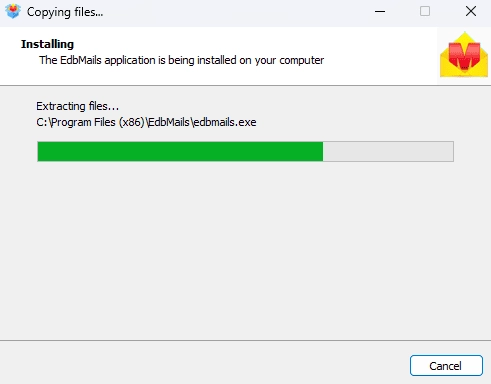
Step 1: Download and Install EdbMails software
- Download and install EdbMails on your computer.
- Double click the EdbMails setup (EdbMailsSetup.exe) to install the application.
- Follow the instructions that appear to complete the installation.
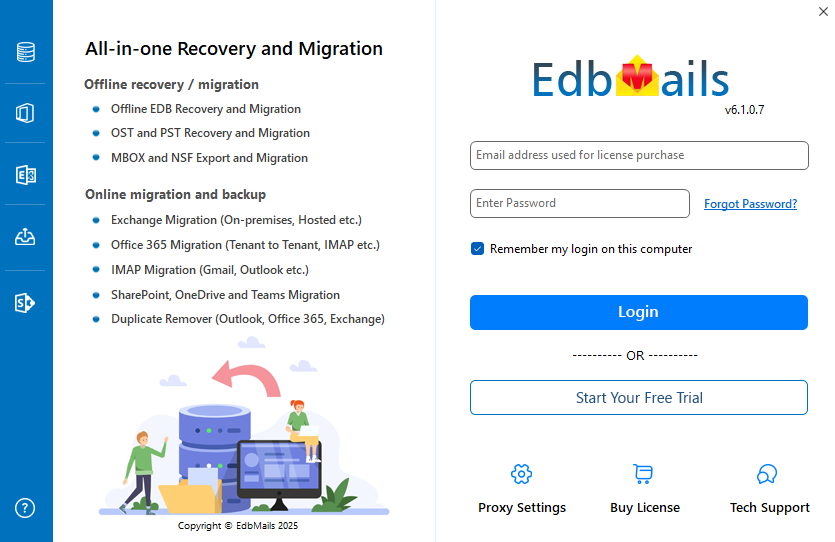
- Open the EdbMails application on your system.
- Enter your registered email ID and password and click ‘Login’. If you are a new user, select ‘Start Your Free Trial’ to continue with the trial version.Note: The trial version includes all key features and supports migration of up to 30 items per folder. To perform unlimited migration, purchase an Exchange Migration license from the EdbMails website.After purchasing the license, close and restart the application. Then log in with the same email ID and password used during the purchase to successfully activate the license.
- Select ‘Live Exchange Migration’.

- Select 'Live Exchange to Office 365 Migration'

- You can proceed with the default job name or click the ‘New Job’ option if you want to assign a different name for the migration job.

Step 2: Connect to source Exchange server
- Click the ‘Add New Connection’ option to create a new connection with the source Exchange Public server. If you have already configured a connection earlier, select it from the available list and click ‘Connect to Existing’ to continue.

- Select ‘Connect to Public folders’ and click the ‘Next’ button.

- Enter the source Exchange Public folder server details, including the IP address (Domain name), Exchange version, username, and password.
- Click the ‘Login’ button to proceed.

- Select ‘Load Mailboxes Automatically’ to load the public folders.
- Click the ‘Next’ button to continue.

- Click the ‘Add New Connection’ option to create a new connection with the source Exchange Public server. If you have already configured a connection earlier, select it from the available list and click ‘Connect to Existing’ to continue.
Step 3: Select the Public folders for migration
- Choose the Public folders on the Exchange server that you want to migrate to Office 365.
- Click the 'Next' button.

- If you are running a migration for the first time, EdbMails performs a complete migration of the selected data. During subsequent migration runs, the application automatically enables incremental migration, ensuring that only newly added or modified items are migrated while avoiding duplication.
Step 4: Connect to target Office 365 server
- Click the ‘Add New Connection’ button to establish a new connection to the target Office 365 server. To use the previous connection, select it from the connection list and click the ‘Connect to Existing’ button to proceed.

- Choose the ‘Connect to Public folders’ option and click the ‘Next’ button.

- Select any of the available options to establish a secure connection using OAuth 2.0 modern authentication.
- Choose Auto Registration for a quick setup. Sign in with a Global Admin account and grant the required permissions to automatically register the application in Azure AD.
- Alternatively, select Manual Registration if you prefer to enter the Azure AD application details yourself. This method supports both Global Admin accounts and accounts with Full Access permissions.
- Click ‘Login’ to proceed.

- Authenticate on Microsoft sign-in page.

- After signing in to your target Office 365 server, select the preferred method to load the mailboxes.
- EdbMails provides an automatic option to load mailboxes, making the setup quick and simple. Due to Microsoft API limitations, this method displays up to 100 mailboxes at a time.
- For large environments or when specific mailboxes need to be included, choose the ‘Load Mailboxes using .CSV file’ option. This method enables manual selection and offers complete control over the mailbox loading process.
- Select ‘Load Mailboxes Automatically’ and click ‘Next’ to continue.

- Click the ‘Add New Connection’ button to establish a new connection to the target Office 365 server. To use the previous connection, select it from the connection list and click the ‘Connect to Existing’ button to proceed.
Step 5: Exchange to Office 365 public folder mapping
- EdbMails automatically maps public folders between the Exchange server and Office 365.

- EdbMails automatically maps public folders between the Exchange server and Office 365.
Step 6: Start Exchange public folder migration to Office 365
- Click the ‘Start Migration’ button to begin the migration process.

- The migration process is underway, and you can track it via the progress bar. You can also pause or resume the operation at any point. Upon completion, EdbMails will show a confirmation message.

- Click the 'View Logs' button to view the migration report. Additionally, log in to your target Office 365 server and verify the items count.
- Click the ‘Start Migration’ button to begin the migration process.
Post Migration Activities
If you plan to use Public folders for all Office 365 users in the cloud, run the following cmdlet and set the necessary permissions. Copy & Paste it on PowerShell
Get-Mailbox|flPrimarySmtpAddress,DefaultPublicFolderMailbox,EffectivePublicFolderMailbox
Then, remove the on-premises Public folders.
If you plan to allow specific Office 365 users to access the on-premise Public folders, run the cmdlet to restore access to the on-Premises Public Folders. Copy & Paste it on PowerShell
Set-OrganizationConfig -PublicFoldersEnabled Remote -RemotePublicFolderMailboxes
Please note that success may depend on your specific environment and configuration.
