


Office 365 Shared Mailbox to Archive Mailbox Migration
Shared mailboxes tend to grow faster than people expect. An Office 365 Shared mailbox lets a team work from one address, which is exactly why departments like support, HR, or sales rely on them so heavily. Every reply, every forwarded thread, every attachment adds up in the same place. Within a year or two, that single mailbox is holding far more than anyone actually needs to see on a daily basis, and sorting through it becomes part of the job.
An Archive mailbox exists to take that weight off. Rather than deleting anything, older emails are migrated into a dedicated space that stays fully searchable but sits apart from active mail. The distinction matters: nothing is lost, but nothing unnecessary is sitting between a team member and the message they're actually looking for. Once older data has a home of its own, the Shared mailbox becomes noticeably easier to work in, and it stays that way as new mail keeps coming in.
Office 365 does include a native path for this kind of transfer, but it wasn't designed with scale in mind, and managing it becomes harder as the number of shared mailboxes grows. That's where a dedicated tool like the EdbMails Office 365 Migration Software fits in, offering a more reliable way to migrate data from a Shared mailbox to an Archive mailbox.
Why EdbMails is better than the native method
Natively, migrating mail into a shared mailbox's archive works in one of two ways: dragging emails across manually in Outlook, one message or folder at a time, or setting up an age-based policy that migrates items automatically once they reach a certain age. Neither option gives you a way to migrate everything on demand, and neither works across multiple shared mailboxes at once, each one has to be handled on its own. EdbMails changes that by supporting parallel processing across up to 20 mailboxes at a time, so multiple shared mailboxes can migrate to their archive mailboxes together instead of one after another.
Data accuracy carries through the entire process. Every email keeps its sender and recipient details, timestamps, subject lines, folder structure, and attachments intact, so nothing needs to be checked or rebuilt once the migration finishes.
The interface requires no PowerShell or scripting knowledge. EdbMails delivers an error-free migration from Shared mailbox to Archive mailbox through a guided, straightforward process, accessible to admins at any technical level.
With the pause and resume option, admins can stop a migration at any point and pick it back up later without losing progress, useful when working around business hours or juggling other priorities.
Office 365 Shared mailbox to Archive mailbox migration planning
Before migrating Shared mailboxes to Archive mailboxes, it is important to assess the migration requirements and prerequisites to ensure a smooth and successful transition. Below is a checklist which can assist you in determining and preparing your environment accordingly:
- Prepare a complete inventory of items from your Shared mailboxes.
- Identify the size and number of Shared mailboxes you want to migrate.
- Determine whether you want to move everything at once or in stages.
- Check your internet connection speed and network configuration.
- Check Office 365 message size limits and throttling policies.
- Communicate the plan and the changes to your end users.
- Perform a test Office 365 migration before you start the actual one.
- Start the migration, verify the endpoint, and add DNS records.
- Create new Outlook profiles and check if you are receiving emails correctly.
Office 365 Shared mailbox to Archive mailbox: Pre-migration activities
Before you begin the migration process, there are several things you need to prepare in your environment. These steps include:
- Enabling the Archive mailbox on the target
- The target mailbox needs its Archive mailbox (In-Place Archive) enabled before EdbMails can connect to it. This can be done through the Exchange Admin Center or Exchange Online PowerShell.
- Enabling the archive requires an appropriate license, either Exchange Online Plan 2 or Exchange Online Plan 1 with the Exchange Online Archiving add-on.
- Confirm the archive is active and accessible before starting the connection process in EdbMails.
- Setting up admin access and authentication
- A global admin account with a mailbox attached. EdbMails uses this for automatic app registration against Entra ID (the new name for Azure AD). If your security team won't hand over global admin rights, manual registration is an option that accepts any account with full access rights.
- Make sure you have a stable, sufficiently fast internet connection. Since email data is transferred over the network, low bandwidth can slow the migration down or cause interruptions during large transfers.
- Reviewing existing Shared mailbox permissions
- Take note of the current permission levels assigned to the Shared mailbox, including Full Access, Send As, and Send on Behalf, so they can be verified or reassigned on the target side if needed after the migration.
- Enabling the Archive mailbox on the target
Steps to migrate Office 365 Shared mailbox to Archive mailbox
Step 1: Download and install EdbMails Office 365 migration software
- Download and install the EdbMails application on your computer running on Windows OS.
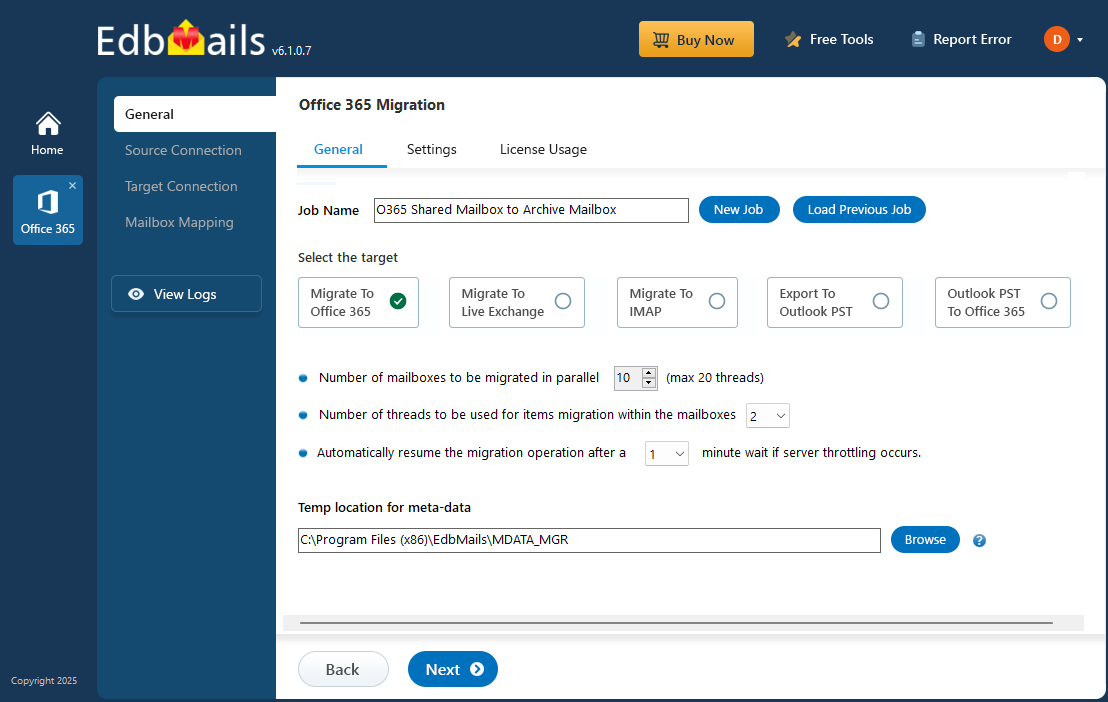
- Start the application, enter the required details and click the ‘Login’ button or click the ‘Start Your Free Trial’ button to continue.
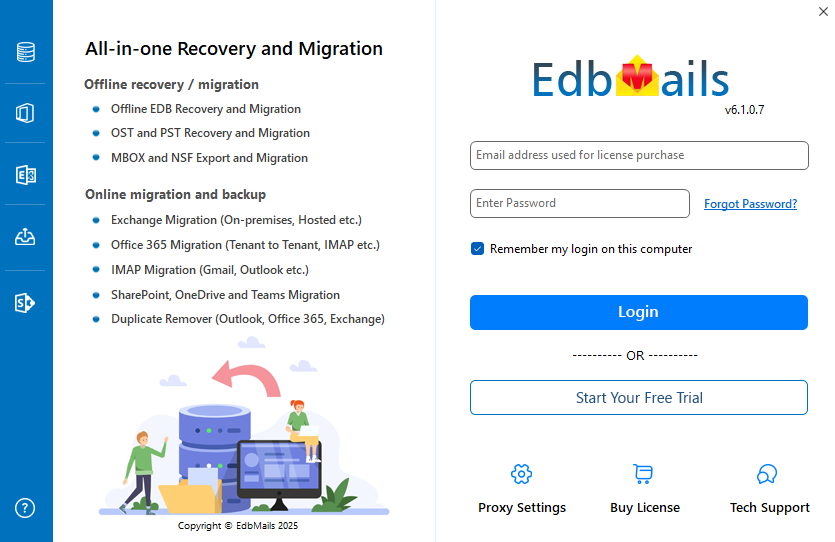
- On the EdbMails home screen, click 'Microsoft 365, Exchange, SharePoint, OneDrive, and Teams Migrations', then click 'Office 365 Migration', and select 'Office 365 to PST Export' from the dropdown.
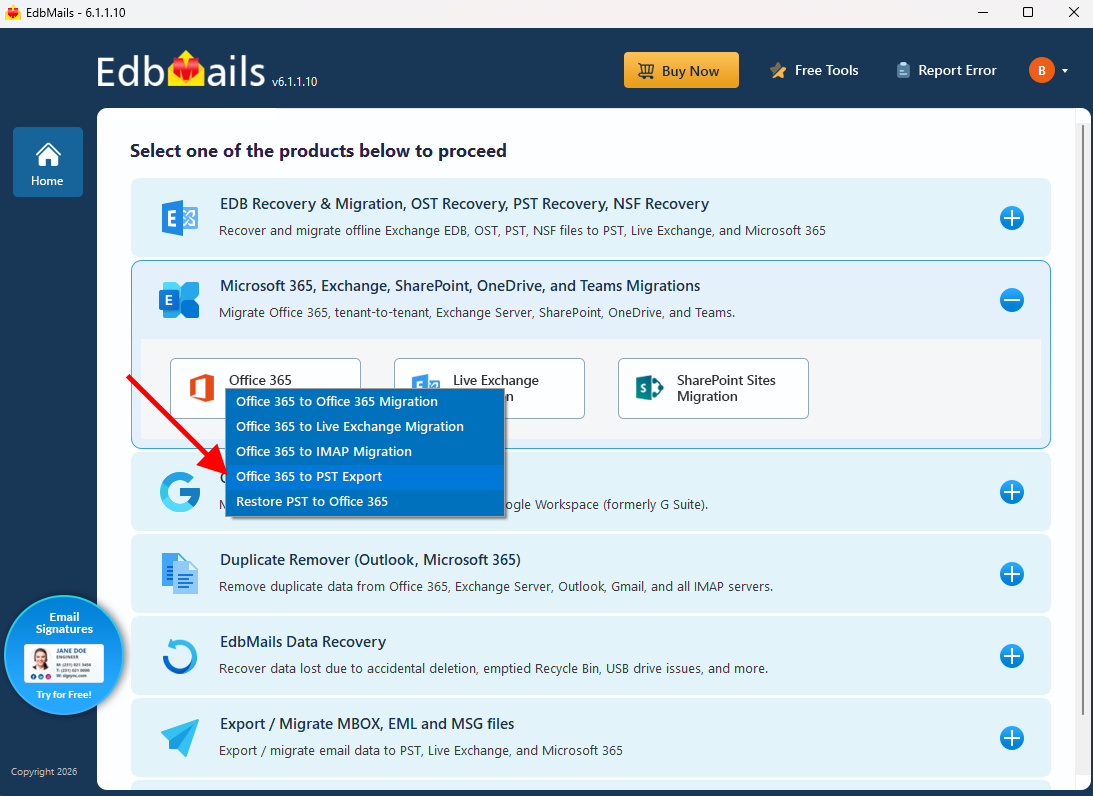
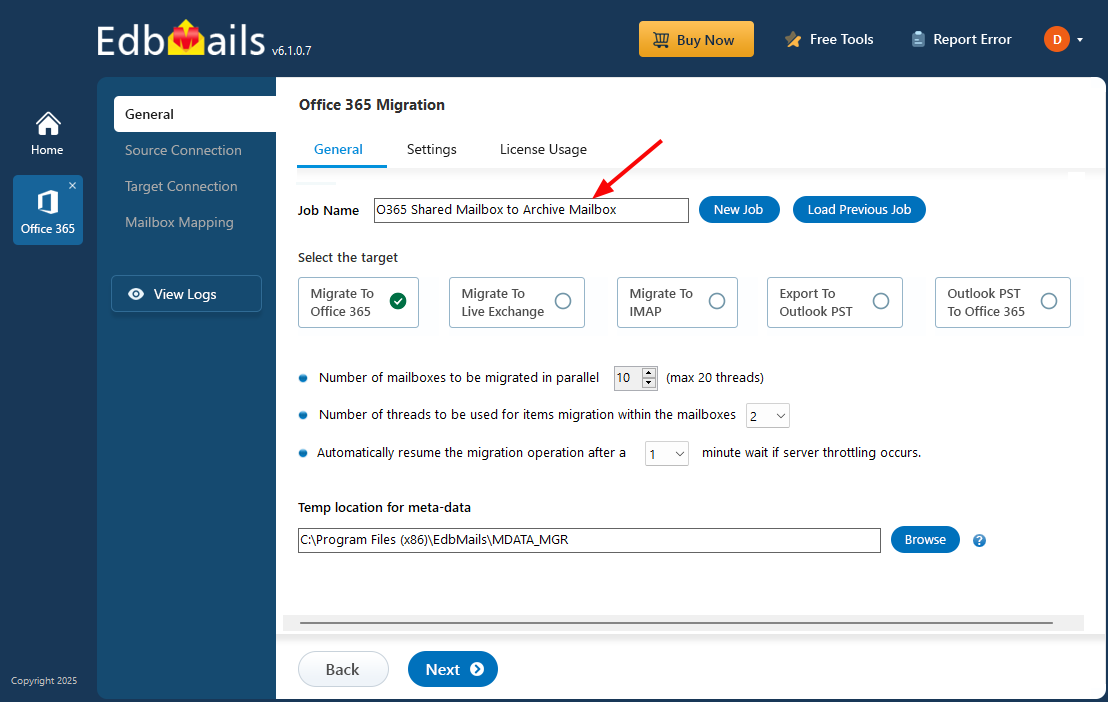
- You may either keep the default job name or click the ‘New Job’ button to customize it.
Step 2: Connect to source Office 365 server
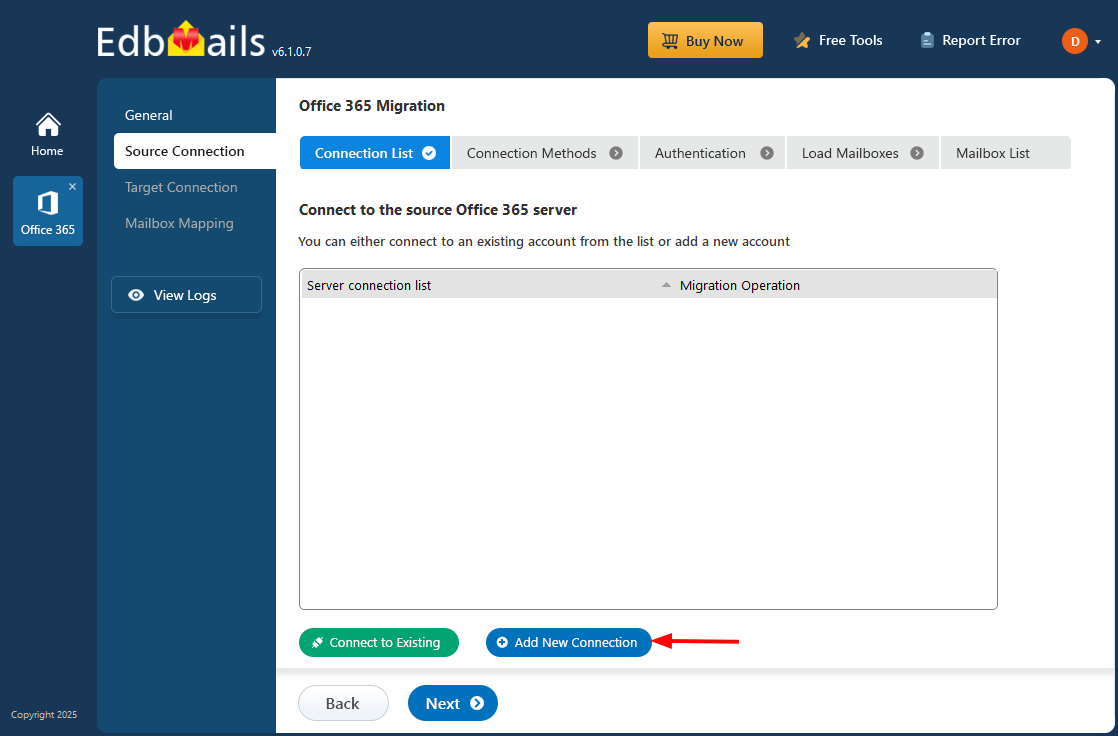
- Click the ‘Add New Connection’ button to establish a new connection to the source Office 365. If you prefer to use a previous connection, select it from the list and click the ‘Connect to Existing’ button to continue.
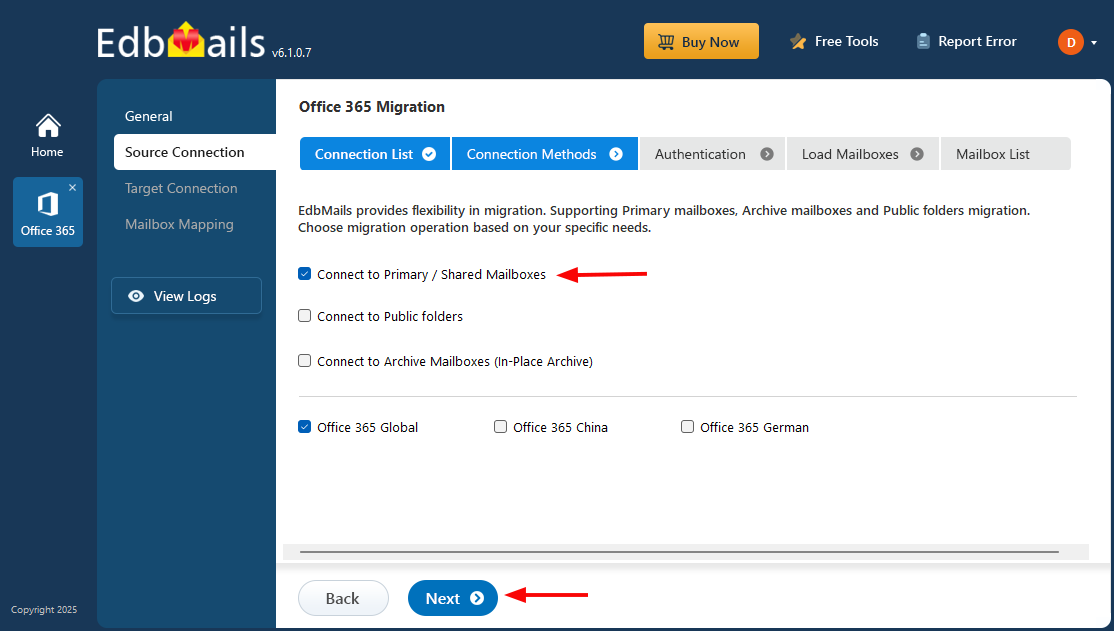
- Choose the ‘Connect to Primary/Shared Mailboxes’ option and click ‘Next’ button to continue.
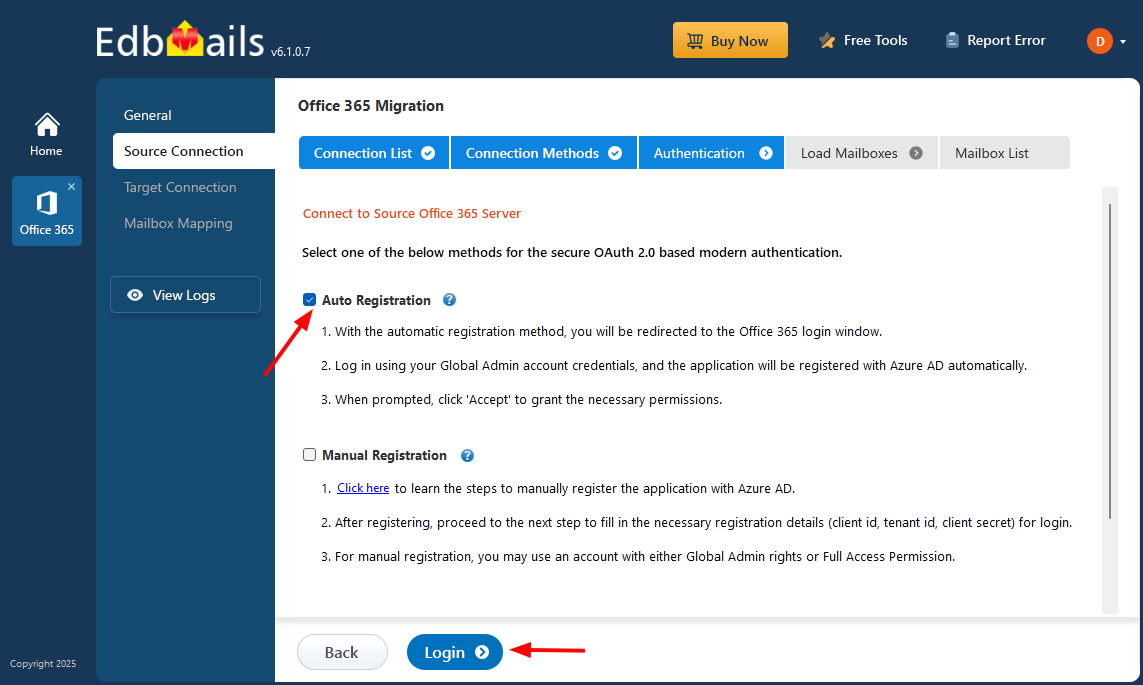
- Select a secure OAuth 2.0-based modern authentication method, then click the ‘Login’ button to proceed.
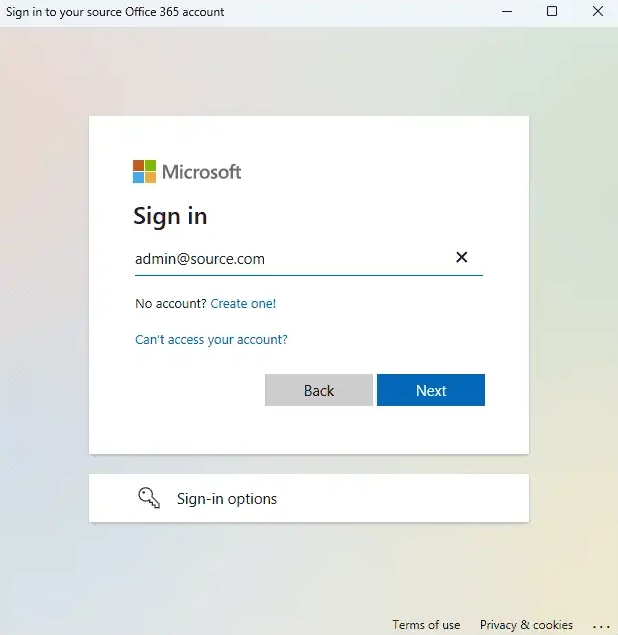
- Authenticate on Microsoft sign-in page.
- Select a method to load the mailboxes. Microsoft API allows automatic loading of up to 100 mailboxes, including Shared mailboxes. If you have more than 100 mailboxes, or if any mailboxes are missing from the automatic list, you can load them using a CSV file.
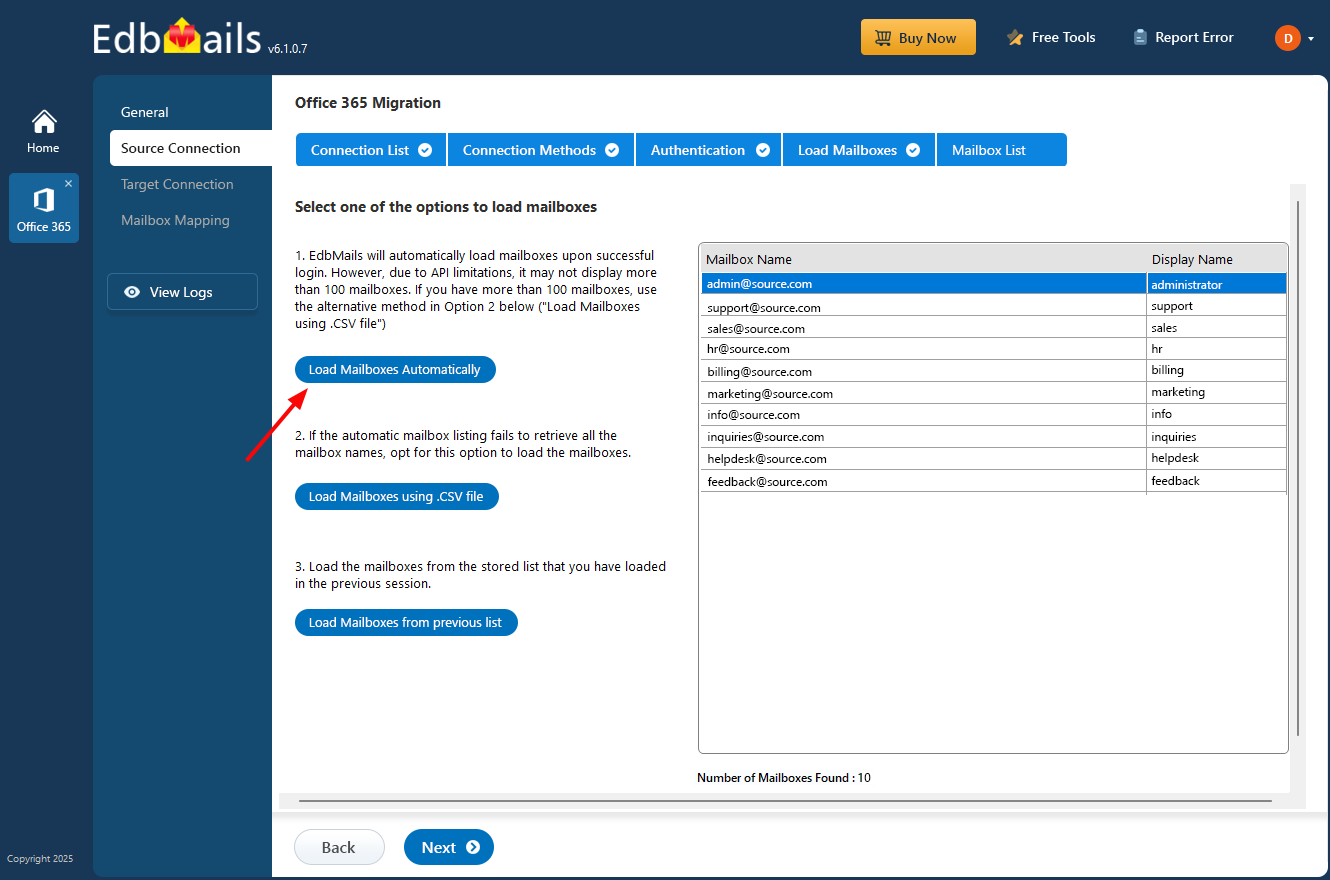
- Click the ‘Add New Connection’ button to establish a new connection to the source Office 365. If you prefer to use a previous connection, select it from the list and click the ‘Connect to Existing’ button to continue.
Step 3: Select Office 365 Shared mailboxes
- Select the Shared mailboxes from the left pane and click ‘Next’ to proceed.
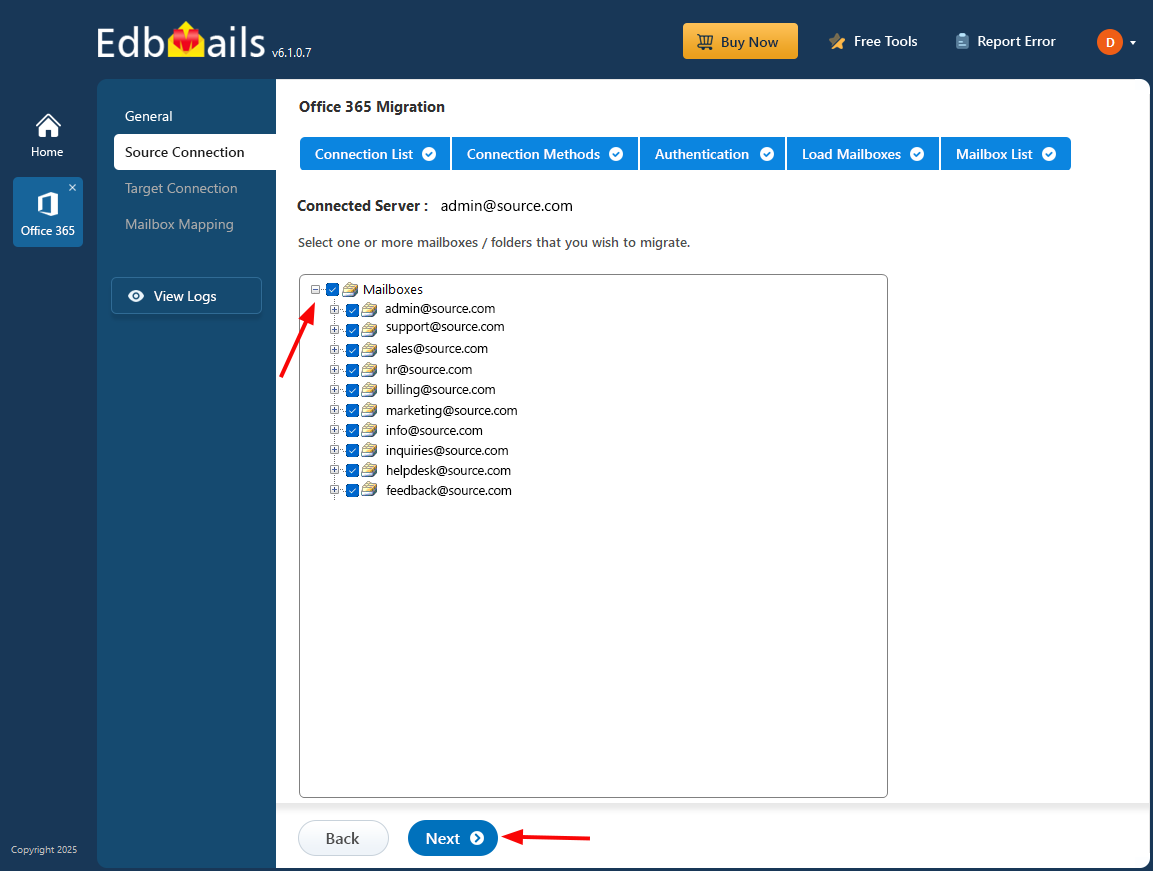
- Select the Shared mailboxes from the left pane and click ‘Next’ to proceed.
Step 4: Connect to target Office 365 server
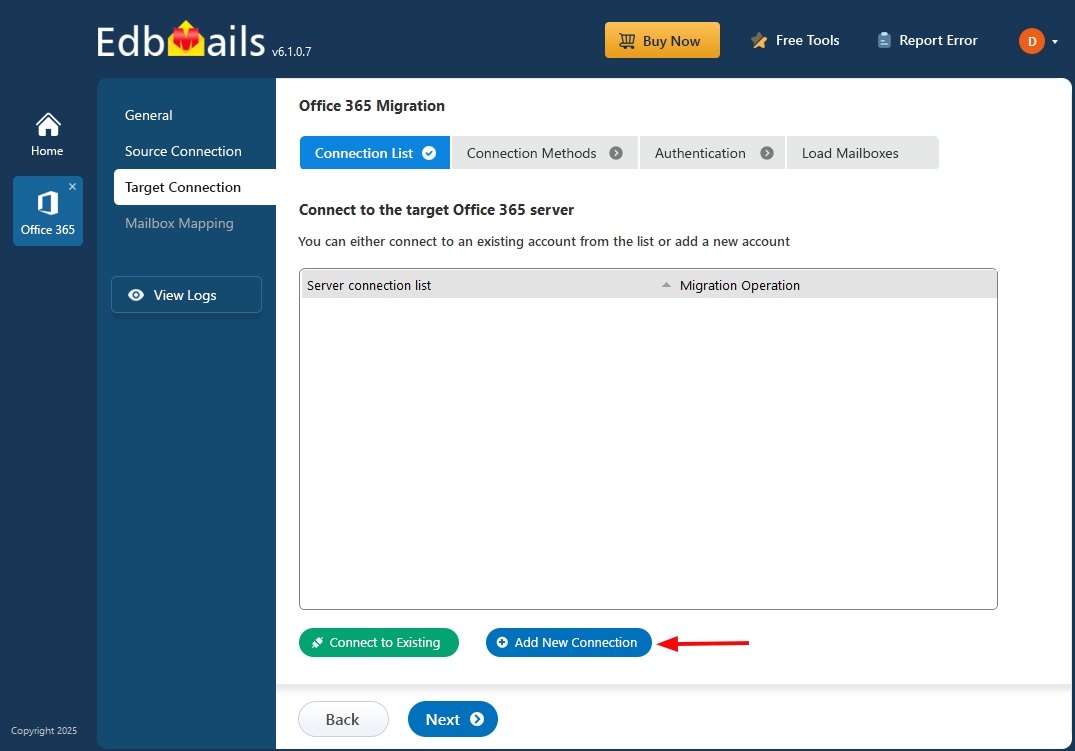
- Click the ‘Add New Connection’ button to create a new connection to the target Office 365. If you want to use a previous connection, select it from the list and click the ‘Connect to Existing’ button to proceed.
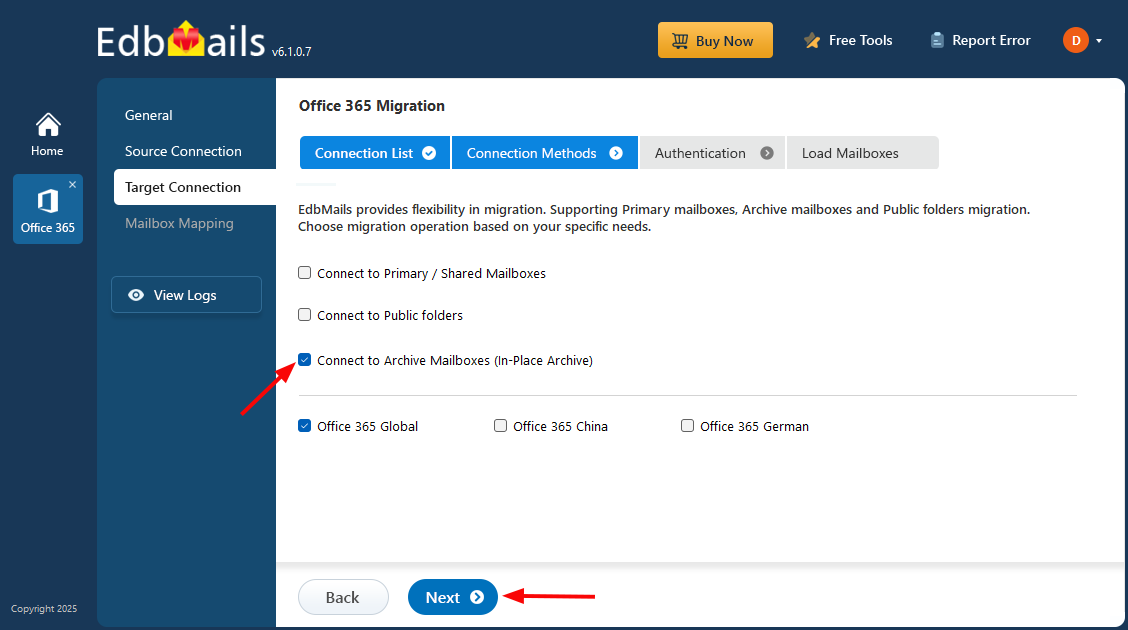
- Select ‘Connect to Archive Mailboxes (In-Place Archive)’ and click ‘Next’ to proceed.
- Select the required authentication method to connect to target server and click ‘Login’ to proceed.
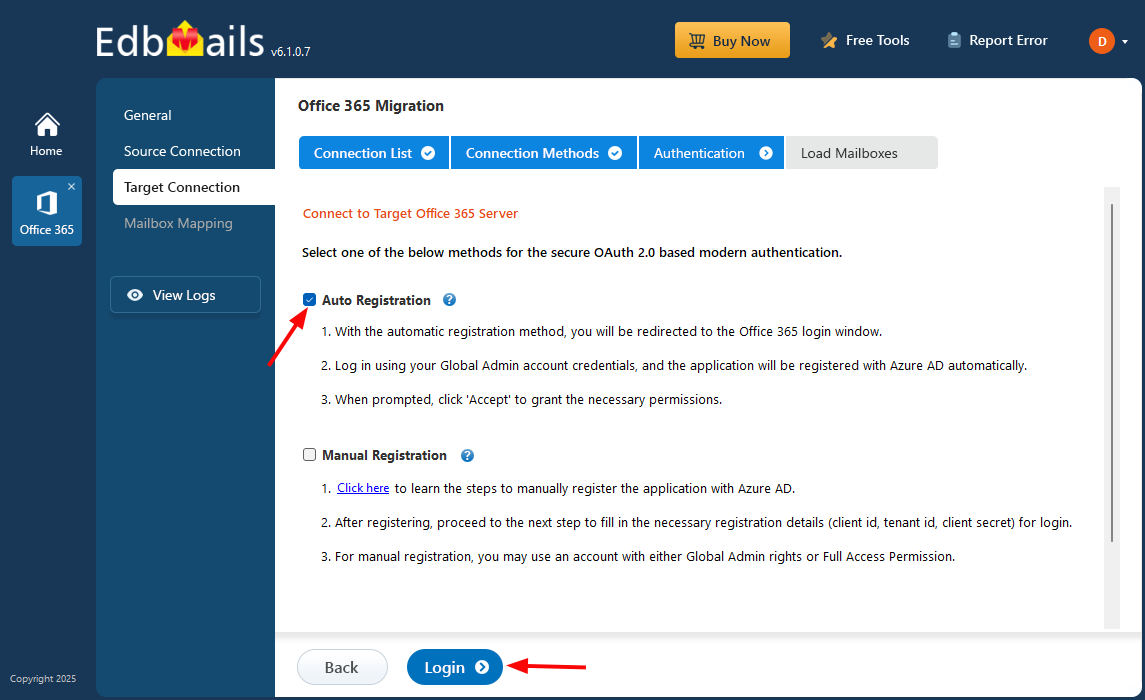
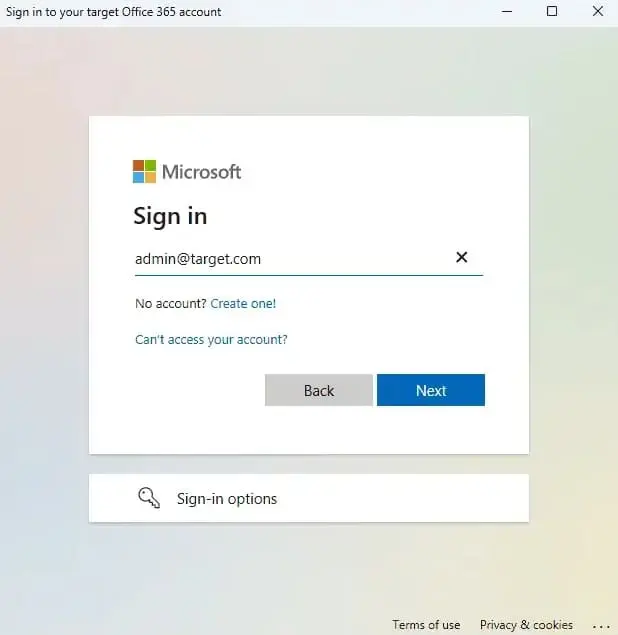
- Authenticate on Microsoft sign-in page.
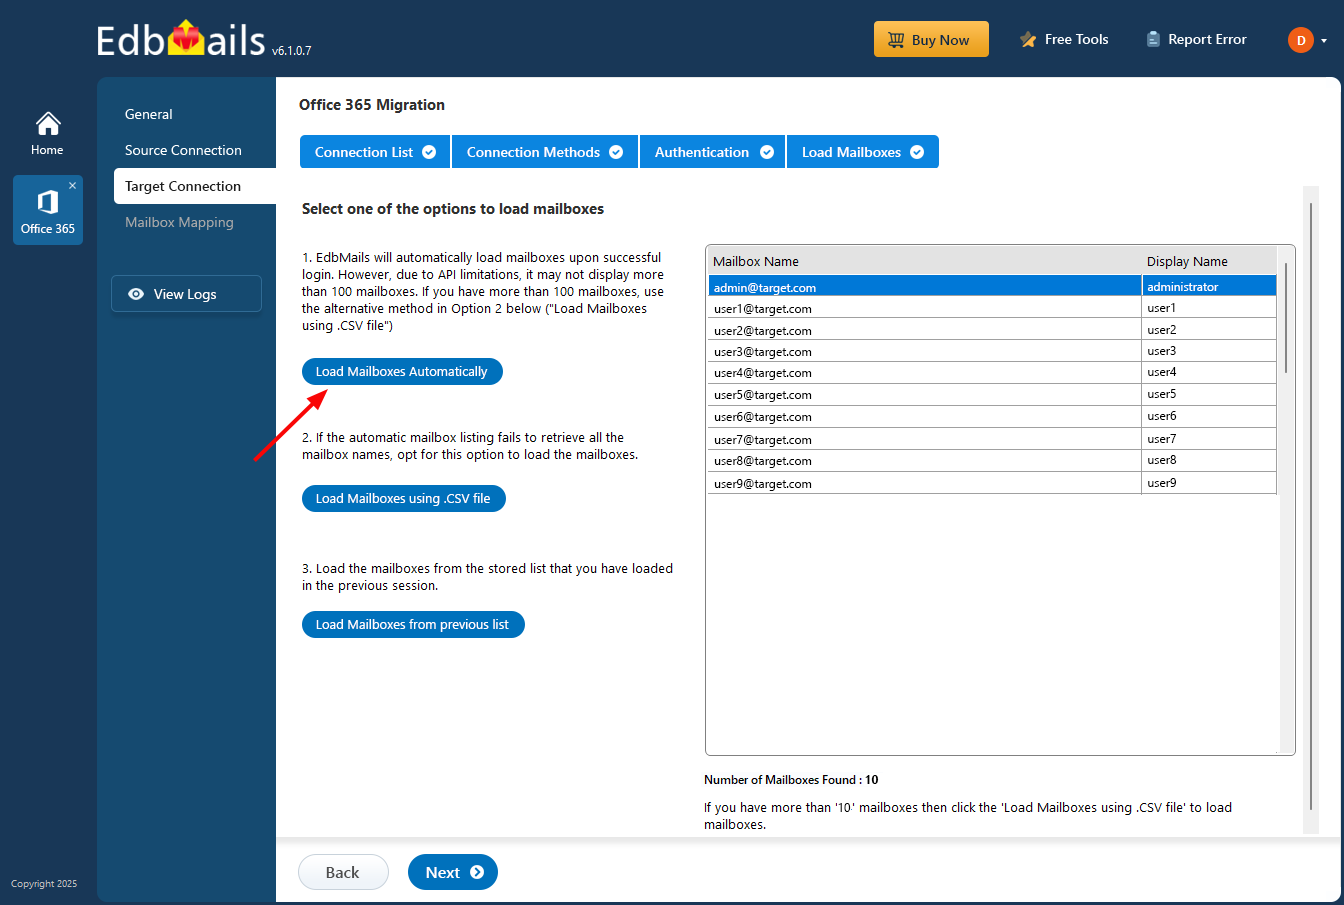
- Select the one of the methods to load the mailboxes.
- Click the ‘Add New Connection’ button to create a new connection to the target Office 365. If you want to use a previous connection, select it from the list and click the ‘Connect to Existing’ button to proceed.
Step 5: Map source and target mailboxes
- Select the mapping option that best meets your needs.
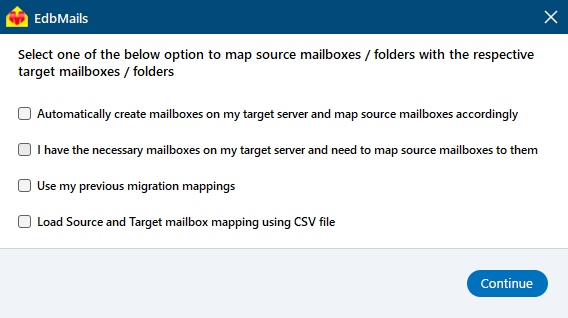
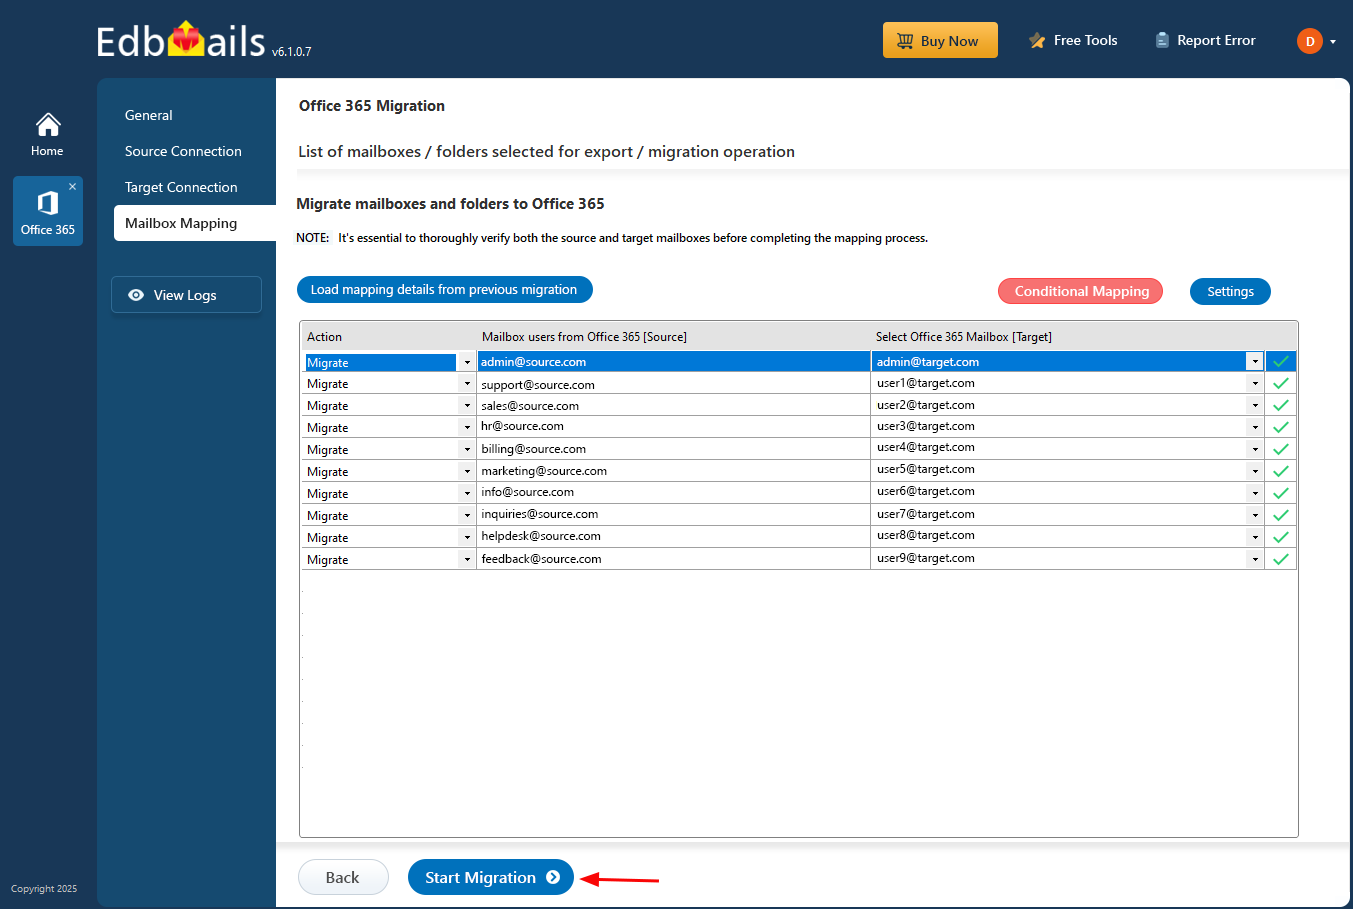
- Archive mailboxes on the target need to be created and enabled manually beforehand. If the source Shared mailbox and target Archive mailbox share the same name, EdbMails automatically maps them, otherwise, mailboxes can be mapped manually.
- Select the mapping option that best meets your needs.
Step 6: Start Office 365 Shared mailbox to Archive mailbox migration
- Click the ‘Start Migration’ button to begin the migration process.
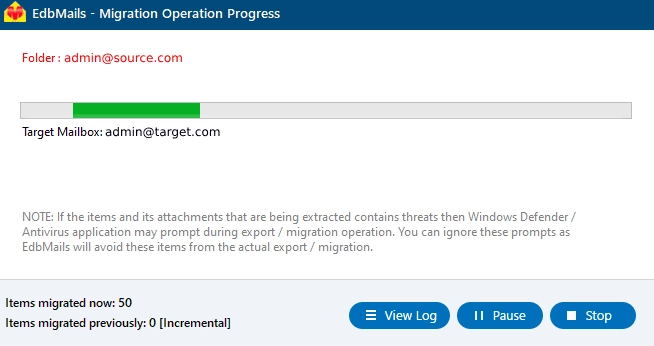
- During the migration, you can monitor the progress in real-time, and once it's complete, a message will prompt you to verify the logs. Click the 'View Log' button to access the migration report, and log in to your target Office 365 server to verify the migrated items.
- Click the ‘Start Migration’ button to begin the migration process.
Office 365 Shared mailbox to Archive mailbox post-migration activities
Step 1: Update the MX records to point to Office 365
Update the DNS MX records to direct incoming email traffic to the target Office 365 environment. Additionally, configure the Autodiscover record to allow Outlook clients to connect to the migrated mailboxes correctly. You also need to set up the Autodiscover record so that Outlook can be set up with the migrated mailbox.
Step 2: Create a new Outlook profile for users in the new domain
Configure and recreate the Outlook profile for each user in your domain if Outlook has problems connecting to Office 365 mailboxes.
Benefits of EdbMails for Office 365 Shared mailbox to Archive mailbox migration
- EdbMails handles any size of mailboxes seamlessly
EdbMails efficiently handles to migrate from Office 365 Shared mailbox to Archive mailbox without considering the mailbox size. It smoothly manages the smallest of data up to largest in minimum time without loss of any data.
- Detailed migration reports
EdbMails offers complete migration reports for monitoring each migration step. It provides detailed logs about migration status, data migration and error information. This allows the administrator to know how many data have been migrated and where were the errors, etc.
- CSV-based mailbox import
EdbMails allows for bulk migration of mailboxes with CSV file import feature. With this option, there is no need of manually entering mailbox data, reducing the time. The mailbox migration takes place in a smooth and efficient way with bulk mailboxes without any error.
- Zero downtime
EdbMails maintains zero downtime throughout the transfer, without affecting ongoing email activities. Users can continue accessing the Shared mailbox while data moves to the Archive mailbox, keeping business operations running without interruption.
- Smooth and consistent data migration
EdbMails provides a simple and consistent data migration from Shared mailbox to Archive mailbox. The tool transfers all emails, folders, attachments, metadata etc from one mailbox to the another without any data corruption or data loss, and in turn a flawless user experience is established with maintaining the integrity of data.
- EdbMails handles any size of mailboxes seamlessly