


User defined mailbox / folder mapping for migration
EdbMails Office 365 Migration software offers user-defined mailbox and folder mapping, letting you map source and target mailboxes and folders exactly as needed. This makes it easy to create customized mappings, so every item transfers to the right place.
By default, EdbMails uses one-to-one mapping between source and target mailboxes and folders, matching each one to its corresponding mailbox or folder on the target server. For instance, using default automatic mapping, migrating the Inbox folder from test@source.com lets you send it to any mailbox on your target server, but not to a different folder within it. User-defined mapping removes that limitation.
Advantages of user-defined mapping
- Migrate to any location on your target server
For Instance, if the source folder path is ‘user1@source.com/Inbox’ and you want to map it to a different path on the target, such as ‘user2@target.com/custom’, user-defined mapping allows you to migrate ‘Inbox’ folder items from source mailbox to the ‘Custom’ folder on the target server.
- Migrate to the target server with multilingual support
For instance, if you want to migrate data from the 'Inbox' folder (English) in the source mailbox to the 'Boîte de réception' folder (French) in the target mailbox, the user-defined mapping feature helps to map the source and target folders easily.
How to set-up user defined folder mapping?
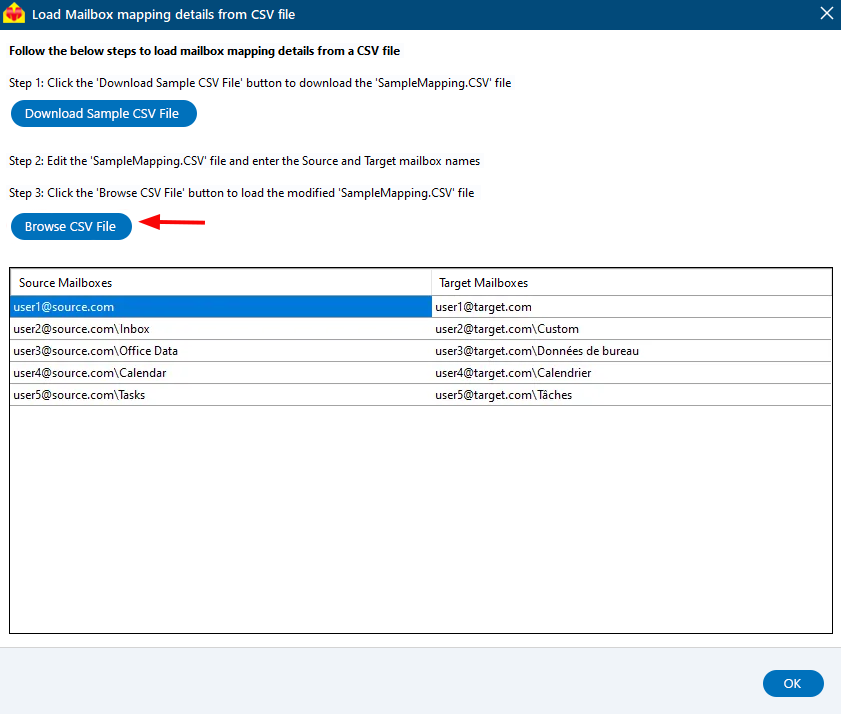
To set up the user-defined mapping, create a CSV file containing the source server mailboxes and folder paths, as well as the corresponding target server mailboxes and folder paths. Save the CSV file and load it into the EdbMails application for mapping. For detailed steps, refer to the section below.
Let's see how to load the source and target mailbox mapping using a CSV file.
- Download and install EdbMails application
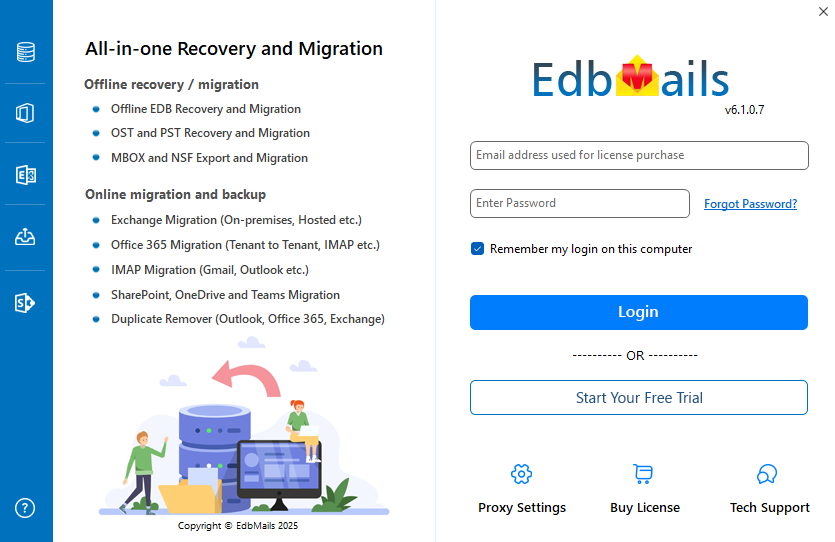
- Login to the application with appropriate details or Click the ‘Start Your Free Trial’ button
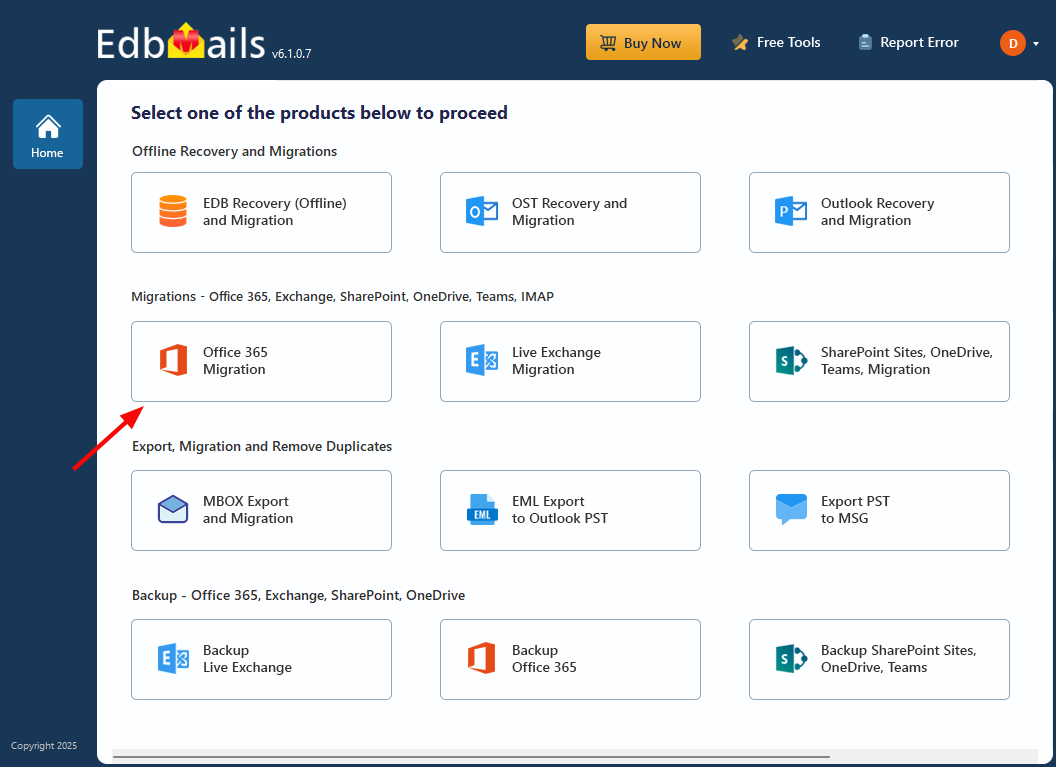
- Select the ‘Office 365 Migration’ option from the list of products
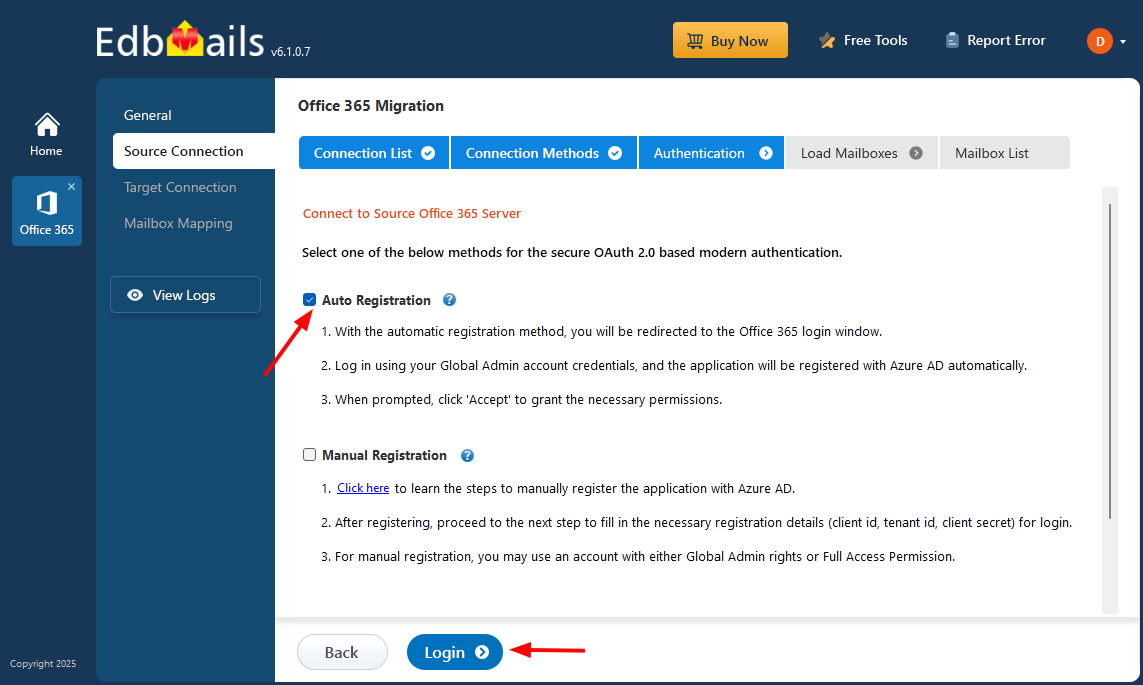
- Connect to source Office 365 server and select option to load mailboxes
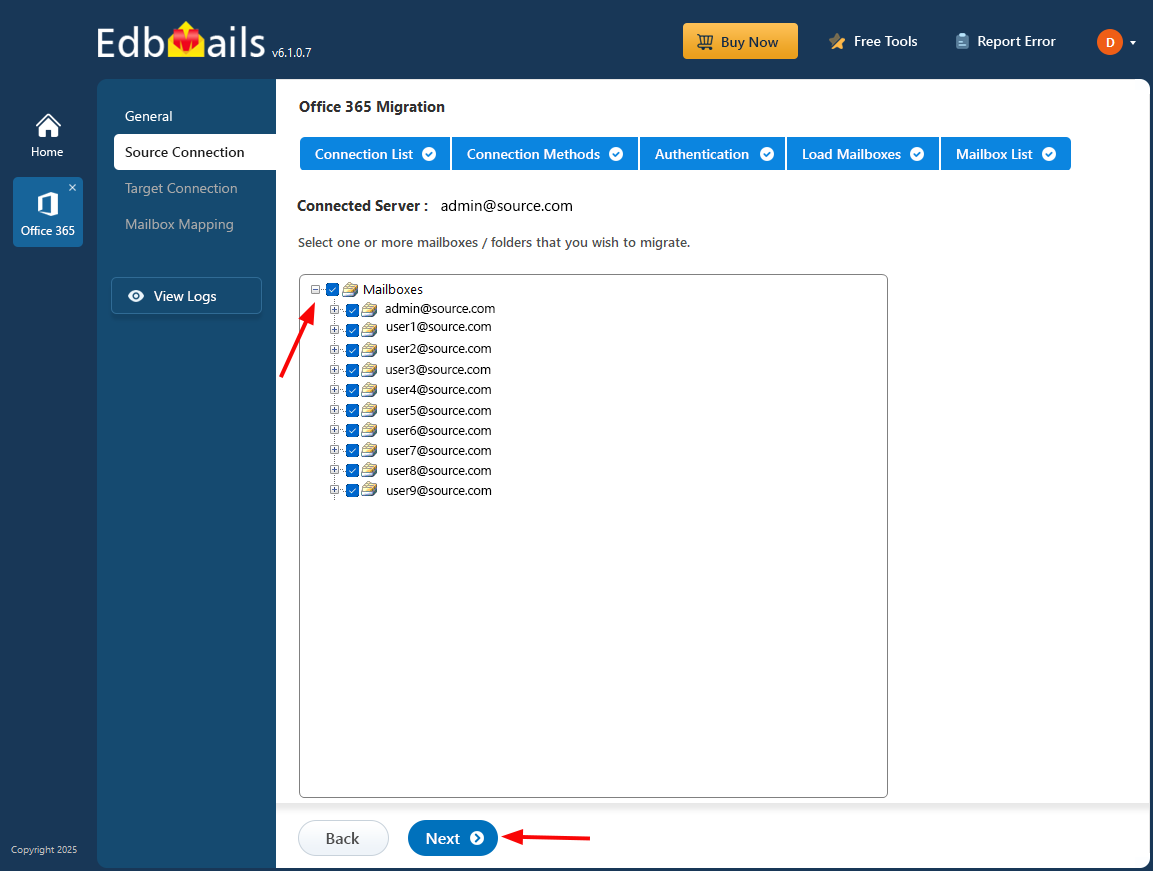
- Select the mailboxes and click ‘Next’ button to continue.
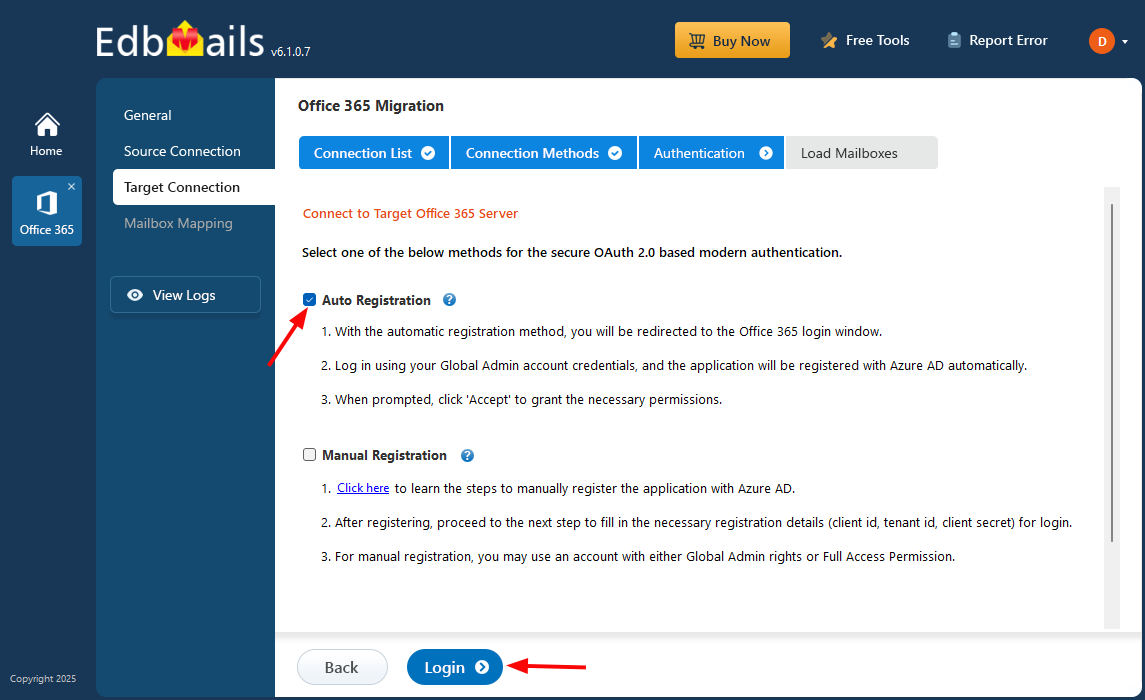
- Connect to target Office 365 server and select option to load mailboxes
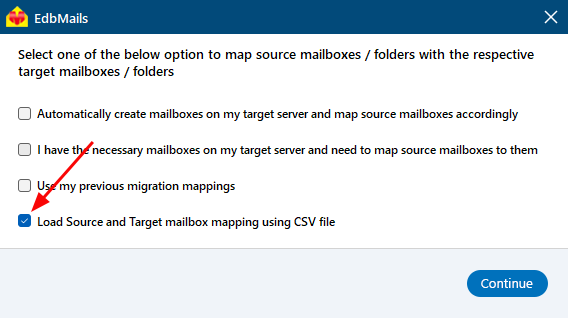
- In the mapping window select the option ‘Load Source and Target mailbox mapping using CSV file’ and click the ‘Continue’ button
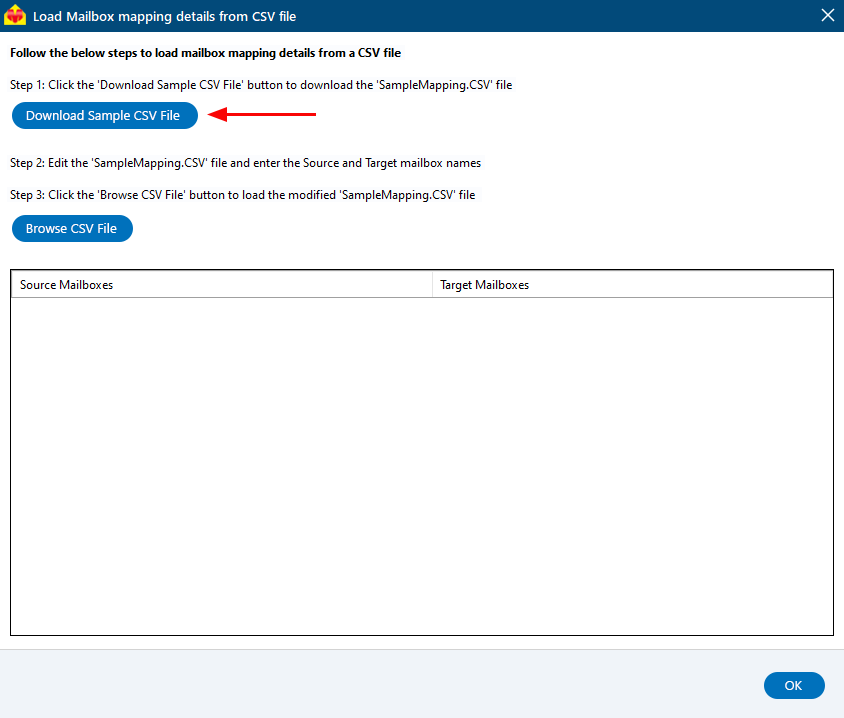
- Click the ‘Download Sample CSV File’ button
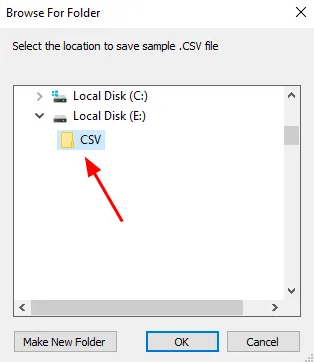
- Select the location store CSV file on your computer
- Open the CSV file and edit the source & target mailboxes mapping details. You can also specify the required folder to be mapped in the csv file. Once the updates are completed, save the CSV file
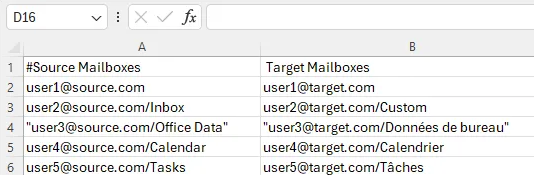
- Browse and upload the CSV file in the EdbMails application.
- Now, verify the mapping details and proceed with the Office 365 migration operation.
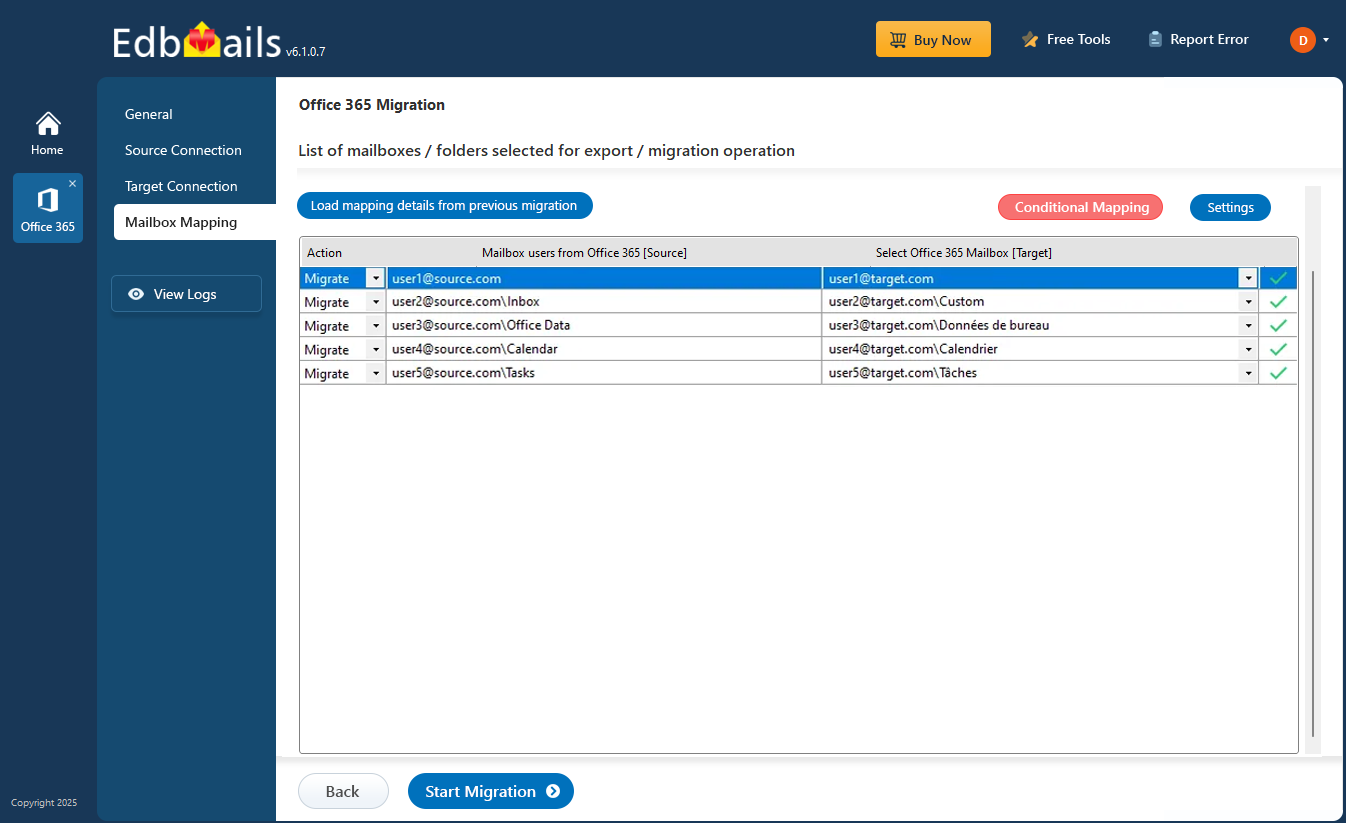
Understanding the CSV File Structure
The sample CSV downloaded in Step 8 provides the exact template EdbMails expects. The mapping file uses two columns: Source Mailboxes and Target Mailboxes. Each row defines one mapping, and the format works at three levels depending on what's being mapped:
| Mapping Type | Source Mailboxes | Target Mailboxes | What it does |
| Mailbox-level | SourceUser1@domain.com | TargetUser1@domain.com | Maps an entire source mailbox to a target mailbox, no folder specified |
| Folder-level | SourceUser2@domain.com\Inbox | TargetUser2@domain.com\Boîte de réception | Maps a specific folder to a differently named or located folder on the target |
| Public folder | Public Folders\Inbox | Public Folders\Boîte de réception | Uses "Public Folders" in place of a mailbox address, same backslash path format |
Subfolder Mapping Behavior
When you map a parent folder to a new location, its subfolders are included automatically. For example, mapping \Inbox to \Custom carries over all folders nested inside Inbox as well, preserving their original structure underneath the new target folder. You don't need to list each subfolder as a separate row in the CSV, only the parent folder mapping is required.